Showing posts with label cakes. Show all posts

Friday, February 4, 2011

Pumpkin Ganache Mochi (Steamed)


[ Equipment: steamer. For more information about the terminology in this recipe, see Low Temperature Baking: A Journey of 3 Paths ].

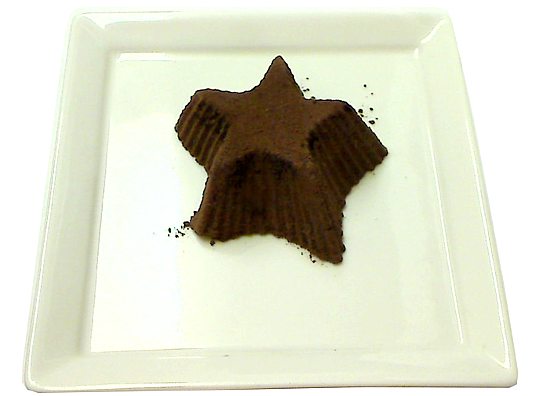
With the Chinese New Year approaching (February 3, 2011) and a can of pumpkin puree sitting in my food bin, I prepared to celebrate by making a batch of spiced pumpkin ganache mochi. The traditional celebratory food is glutinous rice cake layered with red bean paste. Japanese mochi is similar but molded into different shapes and with a greater variety of fillings. I suppose I could also call them glutinous rice cupcakes. At first, I wasn't sure if a pumpkin filling would be authentic; I've never seen pumpkin in Asian markets. I discovered online that the Chinese in China have been eating and growing pumpkin for hundreds of years (since the Ming Dynasty). Chocolate, introduced into China in the 1970s and still regarded there as a foreign food, has been popular in baked goods.

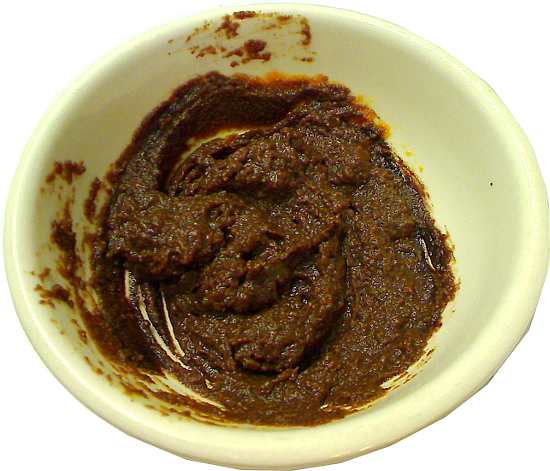
The pumpkin ganache could not be simpler (nor lower in calories): just pumpkin puree and chocolate syrup. In my recipe, the chocolate syrup is Hershey's Special Dark Syrup. Any chocolate syrup should work, although the ganache may not have quite the same flavor or deep color. I spiced the pumpkin so that it would stand out more against the chocolate, the same baker's-5 spice in my oatmeal cran-raisin cookies. The harvest spice from my oat-rice soda bread (a.k.a. pumpkin spice) or even plain powdered cinnamon would be fine substitutes.

I like my pastries only mildly sweet, so the ganache has no extra sugar. However, the sugar content of chocolate syrups can vary, and some people have a preference for intense sweetness. I recommend tasting the pumpkin-syrup mixture before reducing it and stirring in the optional tablespoon of sugar if desired.

Glutinous rice and glutinous rice flour can be found in Asian markets, occasionally in the mainstream markets in the Asian foods aisles. One market near me had glutinous rice flour, but not glutinous rice. Bob's Red Mill, the ubiquitous brand for specialty flours, still does not produce glutinous rice flour. Without the flour, another method of making mochi cooks the glutinous rice and then grinds the rice into a doughy paste with a mortar and pestle. It takes LOTS of work to get the smooth texture with that method.

Once the mochi have finished steaming, they are rolled in a starch to dry up any residual stickiness. The recipe states cornstarch, but any number of other food starches could substitute: tapioca, rice, potato. Cocoa powder also works well (see the pictures at the end of the recipe). Do NOT, however, cover the mochi in powdered sugar. The moist surface of the mochis will dissolve powdered sugar into a soggy mess.

I purchased the star molds (1/4 cup capacity) shown in the pictures at Cost Plus World Market (shelved in the baking supplies section), $3 for a set of 6. I strongly recommend silicone molds, because they can literally be peeled off the sticky rice cakes. Refrigerating the mochi for a day or two will also help the unmolding process. They longer they rest, the more set and firm they become.

Makes 6 mochi
- 100 calories per mochi
- Oven Temperature: steaming

Mochi:
  • 3/4 cup glutinous rice flour
  • 3/4 cup water
  • 1/4 cup sugar
  • 2 tablespoons pumpkin ganache (see below)
  • cornstarch or cocoa powder for dusting

Pumpkin Ganache (makes about 1/8 cup):

  • 1/4 cup pumpkin puree (canned or homemade)
  • 1 tablespoon Hershey's Special Dark Chocolate Syrup (see text)
  • 1 tablespoon sugar (optional, see text)
  • 1/8 teaspoon baker's 5-spice or pumpkin spice (see text)
Pumpkin Ganache Method:


1. In a heatproof bowl, mix the pumpkin puree, chocolate syrup and spices until well combined. Taste the mixture for sweetness (keep in mind that it will get sweeter when the pumpkin reduces in the next step). Add sugar, one teaspoon at a time, if desired - tasting the mixture with each addition.


2. Place the bowl in the microwave and heat on HIGH power for about 20 seconds. Remove and stir to release steam. Repeat this step until the ganache is thick and a spoon inserted will remain standing - about 3 to 4 minutes total in an 800W microwave. The heating process will reduce the volume of the mixture almost by half. The mochi recipe requires 2 tablespoons of ganache, so do not overprocess.

Alternatively, the heating could be done in a saucepan on low heat.


3. Cover and refrigerate until ready to use.

Mochi Method:
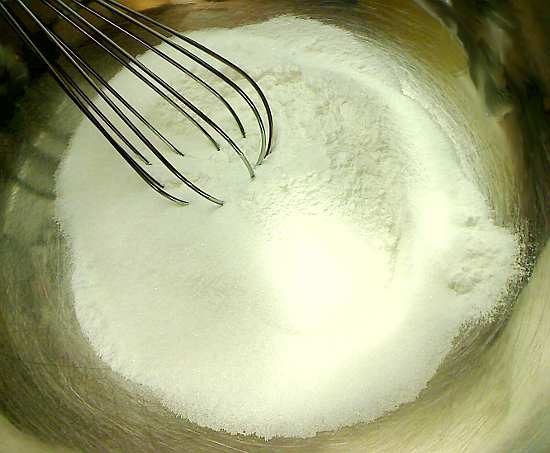


1. In a large bowl, whisk the flour and sugar until well combined.
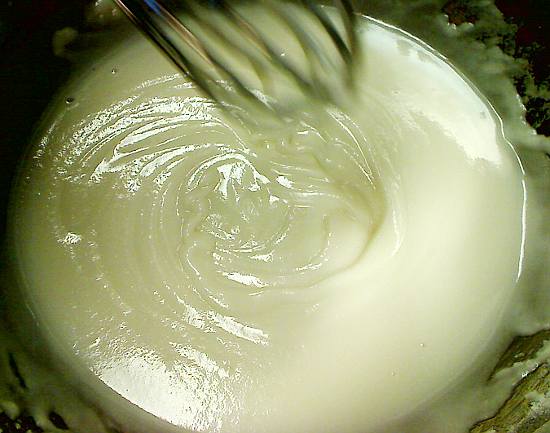


2. Add water and whisk in thoroughly to make a thick batter.
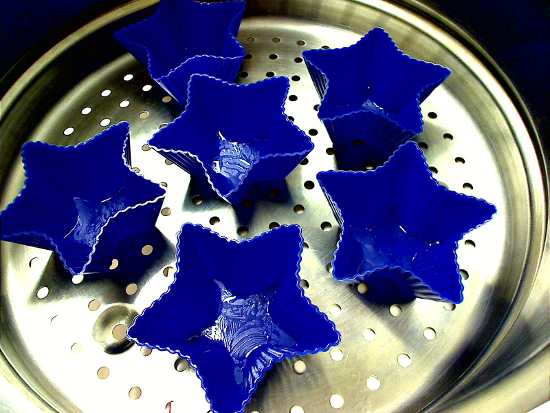


3. Grease 6 molds with oil (the star molds shown have about 1/4 cup capacity).


4. Fill each mold with 1-1/2 tablespoon of glutinous rice batter.


5. Steam (water on medium boil) the batter for about 5 minutes until the batter sets.


6. Remove from steamer and fill each mold with 1 teaspoon of ganache. The ganache should not touch the sides of the mold. In the picture above, I filled them by stacking two 1/2 teaspoon mounds of ganache, because the width of the 1/2 teaspoon measure fits the molds better than my 1 teaspoon measure.


7. Fill each mold to the top with more batter. If the ganache filling sticks up over the top of the mold, lightly press and smooth it down with the back of a spoon.
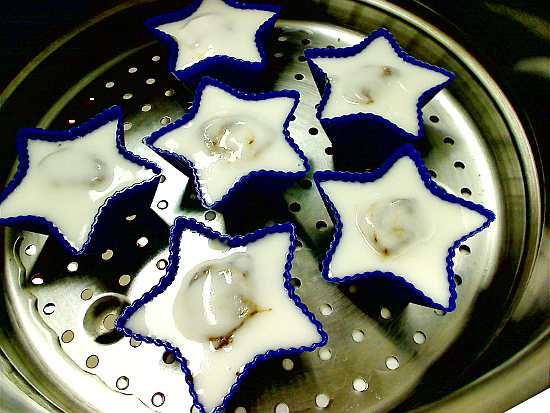


8. If the filling is exposed after any smoothing in the previous step, cover with a little batter.


9. Steam the mochi for about 35 to 40 minutes until firm.


10. Cool the mochi on a rack. Then cover and refrigerate for at least 4 to 5 hours or preferably a full day. The longer they sit, the firmer they get, and the easier it will be to unmold them.


11. Unmold the mochi. Place a mochi in a small bowl.


12. Dust and roll the mochi in cocoa powder or cornstarch.


13. Plate and serve. Drizzle with chocolate syrup if desired.

Crustless Cherry Berry Tarts With Olive Oil Frangipane (Baked)


[ Equipment: oven or slow cooker with temperature control. For more information about the terminology in this recipe, see Low Temperature Baking: A Journey of 3 Paths ].

The term crustless refers to the lack of a pastry crust. These tarts are all "filling", the fruits embedded in a leavened pastry cream batter. The pictures above show 2 versions of the crustless tart. The top one has the lighter batter, cherries and delicate top crust. The bottom tart is denser, firmer and packed with blueberries. They are variations on Rachel Allen's No-Pastry Pear and Almond Tart, which she demonstrated in an episode of her TV show (see a picture of Allen's tart here).

Clafoutis may be the most famous no-pastry tart, but her tart was not a clafoutis, which has a wetter batter at nearly 4 times the level of hydration (compared with Julia Child's clafoutis recipe). Rather, the batter's ingredient roster suggested a frangipane, an almond pastry cream, but formulated with a higher ratio of flour to almond meal and leavened with aerated egg whites to create a texture and body closer to that of a cake.

In my version of this recipe, I kept the Allen's flour-to-almond-meal ratio (about 1:1 by volume), but changed out the butter for a combination of olive oil and milk. My experience has been that butter tends to dry out LTB cakes. As to the choice of oil, I thought the fruitiness of an extra virgin olive oil made it a fine substitute for butter in this recipe, adding both fat and flavor to the batter and blending nicely with the cherries and blueberries. Unlike conventional baking, LTB will preserve the taste of the olive oil. The oil's only a partial substitution for the full amount of butter to keep the calorie count down, although at 410 calories per tart, it's not diet food. Milk covers the remainder for hydration.


I also experimented with the amount and preparation of the egg whites and the addition of egg yolks. In Allen's recipe, the egg whites were beaten for 30 seconds until frothy and then mixed into the frangipane batter. The air in the whites, invigorated by a 400°F/200°C oven, blew up the tart. However, an LTB oven at 250°F/121°C doesn't develop that kind of puffing heat, so the volume of the raw whites pretty much sets the height. With that limitation in mind, I tried whites beaten to the foam stage (stabilized with lemon juice) and beaten to the stiff peak stage. With the stiff-peak whites, the tart baked up like a cottony chiffon cake, but tasted and felt like a light almond cream as it dissolved in the mouth. The tart with the foamed whites came out moist and dense, like a traditional frangipane.

Both types are described in this recipe. Type 1 has the stiff-peak egg white and cherry fruit. Type 2 incorporates the foamed egg whites and blueberries. Although the overall hydration is about the same in both recipes, the type 2 has less milk (and twice as much egg white). I recommend a superfine or baker's sugar for the type 2, because it will dissolve faster or more thoroughly in the reduced hydration of batter prior to folding in the egg whites.


What did I do with the leftover egg yolks? Well, I saved them for other things like custard-base ice milks and enriched scrambled eggs. I did try a type 1 tart with a yolk (shown above on the left). It tasted too eggy, too much like a cake, really overpowering the fruit. On the other hand, the yolk tart held its shape better, no cracks in the top crust, and with a denser texture, like a type 2 tart. In the type 1 recipe, I list an optional amount of ground flax seed to get some of the cohesion of an egg yolk without its standout flavor.

Makes 2 mini tarts
- 410 calories per tart
- Oven Temperature: 250°F/121°C

Type 1 (stiff-peak egg white batter):
  • 1/4 cup almond meal
  • 1/4 cup all-purpose flour
  • 1/4 cup sugar
  • 1/8 cup extra virgin olive oil
  • 1/4 cup milk
  • 1/4 teaspoon almond extract
  • 1/8 teaspoon ground flax seed (optional, see text)
  • 1 egg white
  • 1 tablespoon sugar
  • pinch of salt
  • 1/8 teaspoon lemon or lime juice
  • 8 cherries, pitted and sliced lengthwise in half
Type 2 (foamed egg white batter):
  • 1/4 cup almond meal
  • 1/4 cup all-purpose flour
  • 1/4 cup sugar
  • 1/8 cup extra virgin olive oil
  • 1/8 cup milk
  • 1/4 teaspoon almond extract
  • 2 egg whites
  • 1/8 teaspoon lemon or lime juice
  • pinch of salt
  • 1/4 cup fresh blueberries


1. Grease 2 4-inch mini tart pans and set aside. The non-stick pans above were greased and floured, but did not release much better than pans that were greased only.


2. In a medium bowl, sift flour and almond meal. Mix in the sugar and combine thoroughly. Instead of sifting, I will put the flour, almond meal and sugar in the bowl and rub it between my hands to combine them and eliminate any lumps.


3. Type 1 tart: in another bowl, whip the egg white with the tablespoon of sugar, lemon juice and salt until it reaches the stiff peak stage.

Type 2 tart: in another bowl, whip the egg whites with the lemon juice and salt until it becomes a light foam. A fork is perfectly adequate for this job.


4. Add milk and olive oil to the flour mixture and whisk until well combined. Note: the type 2 batter will be much thicker in this step because it has less milk.


5. Type 1 tart: Fold the stiffened egg white into the batter.

Type 2 tart: Gently mix the foamed egg whites into the batter.


6. Fill each tart pan about 3/4 full of batter.


7. Place cherries cut-side up in batter or sprinkle blueberries into batter. The cherry tart on the left is a type 1. The one with blueberries on the right is a type 2.


8. Bake for 65 to 75 minutes, until the edges are golden brown. Remove to a rack and cool. Note that type 1 tarts will sink and crack as they cool.


9. Unmold and serve. As seen in the first picture above, the top crust on the type 1 (cherry) tart breaks apart easily. I saved the pieces and reassembled them on the tart once it was unmolded. I garnished the cherry tart with chopped walnuts.

Sunday, June 27, 2010

Floral Red Earth Cake (Baked)


[ Equipment: slow cooker or oven. For more information about the terminology in this recipe, see Low Temperature Baking: A Journey of 3 Paths ].

The slice of cake in the picture above looks like an ordinary chocolate cake, although there is only a tiny amount of cocoa powder in it. On close inspection, it's possible to distinguish a slightly reddish hue to the brown with flecks of vibrant red throughout. The red comes from hibiscus flowers that both tint the cake and give it a tart floral flavor. The cake isn't as brightly crimson as a red velvet cake, but it tastes like velvety sweet flowers.

It all began one day when I was watching celebrity chef Paula Deen on TV mixing up a red velvet cake, a traditional cake of the American South that gets its coloring from a combination of cocoa powder and red food coloring. She poured into the batter 2 full bottles of red food coloring and tossed in sticks of  butter totaling 1/2 pound. The cake baked up a screaming fire engine red. Although red velvet cakes are said to be for special occasions (and hence the high fat and intense artificial coloring are supposed to be infrequent indulgences), I began researching for a way to eliminate the bottled food coloring and balance the calories for an everyday LTB cake.
During World War II, when red food coloring was scarce, red velvet cakes were reddened with grated beets or beet juice, but the resulting red faded or browned during baking. While studying red velvet cake recipes online, I also pulled up recipes for red earth cakes, similar to red velvet cakes in composition, but with a reddish brown tonality, because they contain less red food coloring. It was not clear that they are of southern origin. Yet, as I thought about it, a red earth cake seemed more evocative of the American South, assuredly so to non-Southerners. It was on red earth that the southern plantation beloved in popular culture stood, the red earth of Tara in Margaret Mitchell's Gone With The Wind. But I digress.

Because a red earth cake is meant to be more brown than red, I figured one with a natural food coloring could be successful, and the low heat of LTB might preserve the color better. Instead of beets, I had a bag of dried hibiscus flowers in one of my food bins. Hibiscus tea is deep red or purplish red, so I ground up 5 or 6 flowers in a coffee grinder to produce a fine powder as a colorant. Dried whole hibiscus flowers are sold in 3 oz. bags at my local market, but if they aren't available, it might be possible to substitute the contents of one or two herbal teabags (finely ground), which contain hibiscus as the main ingredient, though any other ingredients in the tea will affect the cake's flavor and color.

Normally, natural cocoa powder contributes its own redness when it's mixed with an acid ingredient like vinegar, but Dutch-processed cocoa, which is now sold as a baking cocoa, is non-reactive. The cocoa in this recipe is Hershey's Special Dark, a blend of natural and Dutch cocoas. It's present for flavor and to color the cake a deep brown only, not for any red coloring.

The cake has between 1/2 to 1 teaspoon of dark cocoa powder, a fraction of the amount in my Gotta Have Heart Cake, for example. Yet, it has a distinct chocolate taste, thanks to the coffee bean powder which amplifies the cocoa flavor to blend with the delicate hibiscus bouquet without overpowering it. For the best floral scent and flavor, I recommend adding 1/2 teaspoon of dark cocoa powder to the batter. To emphasize the chocolate and deep brown tone, increase the amount to 1 teaspoon of dark cocoa powder. The coffee bean powder is made by putting unbrewed ground coffee (canned coffee will do) into a coffee grinder and grinding it to a very fine powder.

Southern red cakes can have as much as 1/2 cup of butter or oil per cup of flour. This recipe has one teaspoon of butter for a taste of butter and applesauce to add moistness to the cake. The water content of applesauce varies by brand. If the batter is too dry or too thick, add more water or milk, a dribble at a time.

Paula Deen's red velvet cakes are dressed in a rich cream cheese frosting or icing. I like to serve a slice of this red earth cake with a dollop of light whipped topping (homemade or from the market), sprinkled with a few mini chocolate chips. Avoid any kind of heavily-flavored topping that would compete with or overwhelm the lovely hibiscus.

Makes 1 small loaf or 8 servings
- 620 calories per loaf or 78 calories per serving
- Oven Temperature: 250°F/121°C
  • 1 teaspoon butter, melted
  • 1/8 cup applesauce
  • 1 large egg
  • 1/4 cup sugar
  • 1/8 teaspoon salt
  • 1/4 teaspoon vanilla extract
  • 1/8 teaspoon coffee bean powder (see text)
  • 3 teaspoons powdered hibiscus flowers
  • 1/8 cup milk, regular or reduced-fat
  • 5/8 cup all-purpose flour
  • 1/2 to 1 teaspoon dark cocoa powder (see text)
  • 1 teaspoon cornstarch
  • 1 teaspoon baking powder
Pre-heat oven or slow cooker to 250°F/121°C.

1. Grease a small loaf pan (5-3/4 inch x 3 inch).  Set aside.


2. Heat the milk until hot. Put hibiscus powder in a cup and mix in the hot milk. Allow mixture to infuse for at least 5 minutes.


3. In a small bowl, mix melted butter and applesauce. Set aside.


4. In a medium bowl, mix flour, cocoa powder, cornstarch and baking powder. Set aside.


5. In a large bowl, whisk the egg, sugar, vanilla extract, salt and coffee bean powder until well combined.


6. Mix in hibiscus-milk infusion.


7. Stir in flour mixture in 2 or 3 portions. If the batter is stiff, dribble in some milk or water to thin it out a bit.


8. Pour batter into greased loaf pan and bake for 50 minutes. If baking in a cooker, put moisture-absorbing paper towels under the lid. Check for doneness by inserting a toothpick into the cake. If it comes out clean, the cake is ready.


9. Cool for 10 minutes and unmold. Cool cake on a rack for another 15 minutes and serve.

Spiced Chocolate Gotta-Have-Heart Gobs w/ Lemon-Lavender Creme (Baked)


    You've gotta have heart
    All you really need is heart
    When the odds are saying you'll never win
    That's when the grin should start
[ Equipment: slow cooker or oven. For more information about the terminology in this recipe, see Low Temperature Baking: A Journey of 3 Paths ].

Revised: Feb. 7, 2011

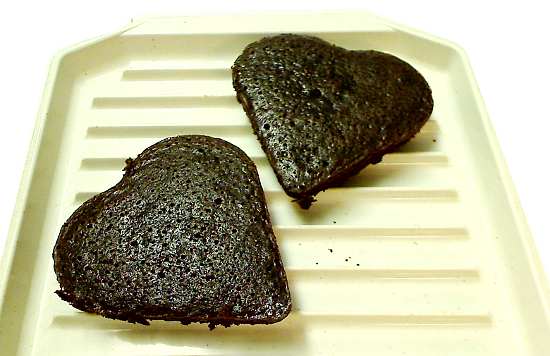
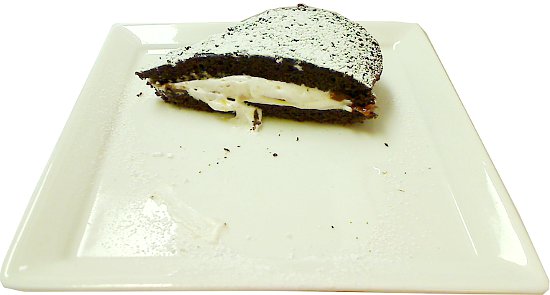
The original Gotta-Have-Heart cake was a simple chocolate genoise, inspired by news of chocolate as a health food. When I was ready to replace the low-res pictures in that recipe with new ones, a new inspiration beckoned me to a different direction: creme-filled gobs (a.k.a. whoopie pies). Because the cake slices are so thin (1/4 inch), they're really more like skinny cake sandwiches than the average gob or whoopie and better served on a plate than held in the hand, a more formal pastry. The basic chocolate genoise has been decked with Mexican-style flavorings: hot spices and ground almonds and a sturdier crumb, but has retained the moisturizing grape syrup drench. The upscale filling combines the earthy caramel of a dulce de leche spread with a heap of light, lemon-scented lavender creme.

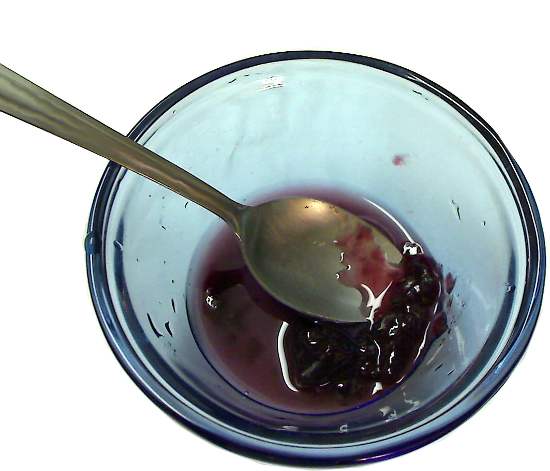
Every year, there are countless news items extolling the health benefits of chocolate. At the time of the original Gotta-Have-Heart cake, headlines were proclaiming that chocolate eaters had a lower risk of heart attacks and possessed radiant skin with fewer wrinkles and that pairing chocolate with wine could protect against stroke. Hence, I mixed up mini chocolate heart cakes infused with Concord grape syrup to celebrate this cascade of cocoa-related revelations (Concord grapes being packed with resveratrol, a compound famous for its potential anti-aging properties and a synergistic combination with chocolate). Those were the original Gotta-Have-Heart cakes.

Last year, I came across an article in the San Francisco Chronicle about an east coast snack cake sweeping into west coast markets and eateries: the whoopie pie or gob. Gobs were now sold all over the Bay Area. They were a publishing sensation too. I counted no less than 6 cookbooks dedicated to the whoopie pie on Amazon.com and all published (or to be published) between 2009 and 2011. Gobs had become a culinary trend in America. So, when I began updating the Gotta-Have-Heart recipe for a new photo shoot, I pulled out the old mixing bowl and went to work on my own version of gobs.

The classic gob is better classified as a cake sandwich than a cookie sandwich, although over the years, the distinction has not been scrupulously observed. The cake itself is typically a sponge cake, charged with a reliable chemical leavener. A genoise cake in this recipe employs no chemical leavener, but relies on an intensely-beaten egg foam to lighten it. Because my only mixing device is an electric whisk (and not the fastest whisk at that), beating alone at room temperature will not fully saturate the egg foam with air. A method for making an acceptable electric-whisk egg foam was detailed in my apple madeleines recipe. It involved heating the batter twice to over 100°F/38°C.

In this recipe, maximum lift isn't necessary. Plus, the extra ingredients for Mexican-style chocolate genoise collapse the egg foam anyway, leaving a fraction of the suffused air behind. That tiny amount of air still tenderizes the cake, so the egg foam can't be avoided. To save time, I only partially whip the egg foam. However, for those with more powerful mixers than I have, I recommend beating a fully-saturated egg foam, because it will produce a more tender cake. Just continue beating on high speed in step 5 until a dripped ribbon stays visible for 15 seconds or longer.

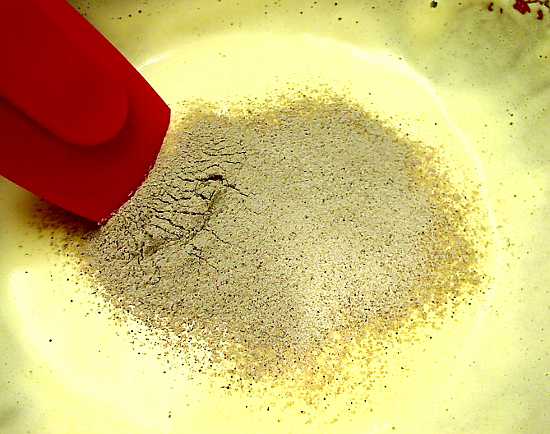
Espresso powder appears to be the preferred ingredient for enhancing chocolate, but I used what I had on hand. The coffee bean powder very effectively punches up the cocoa flavor to match the cake's deep intensity color. It's nothing more than supermarket ground coffee (Folgers medium roast in this instance) that has been pulverized in a coffee grinder. The coffee powder must be very fine ground, or the cake will end up gritty. This is an important flavoring to ramp up the intensity of the chocolate. For substitutes, I'd try instant coffee powder or a coffee extract.

The cakes are baked in a falling oven (20 minutes at 270°F and 20 minutes at 250°F) so that the batter heats up faster and the air bubbles can expand more before it sets - but not to leaven. The purpose of the higher start temperature is to tenderize the cakes with a finer crumb. At no point should the cakes actually get hotter than 250°F/121°C, as the batter's still not quite set when the oven temperature begins falling. Alternatively, they could be baked in a steady oven at 250°F/121°C for 50 to 60 minutes as originally specified, especially if the egg foam had been whipped to maximum aeration. Otherwise, a dash (1/4 teaspoon) of baking powder in the batter could also help tenderize the cakes.

When made in the specified pans, the cakes are about 1/2 inch thick, essentially the height of the batter before baking. Initially, I worried the cakes might be difficult to slice horizontally. However, the firm texture withstood thin slicing, and I was always able to do it without it tearing or crumbling, due in no small part to a sharp, finely serrated knife.

Historically, the creamy filling for a gob was a kind of marshmallow creme or a shortening-based frosting. In this recipe, the cakes are filled with prepared Dream Whip whipped topping mix, scented and tinted with lemon and lavender. At 140 calories per cup, it's half as calorie dense as plain marshmallow creme. A meringue frosting, such as 7-minute frosting, made with fresh lemon zest and lavender powder, would be a good substitute for either Dream Whip or marshmallow creme.

The lemon zest and milk for the Dream Whip topping has to infuse for several hours in the refrigerator. I considered warming the milk first to accelerate the infusion, but heating would have changed the taste and the texture of milk and possibly the fluff of the topping. The recipe specifies 1/4 to 1/2 teaspoon of lemon zest for the infusion. With the 1/4 teaspoon amount, the zest brightens the taste of the lavender creme and subtly scents it with lemony freshness - very delicious as it is. The optional 1/2 teaspoon of zest is for those who want a stronger lemon flavor. Lavender has been a mainstay flavoring of artisanal chocolates. I make the lavender sugar by fine-grinding dried culinary lavender flowers and granulated white sugar in a 2-to-1 ratio by volume. The sugar assists the spice grinder by adding heft to blossoms.

Makes 2 gobs (each gob can serve one or two)
- 190 calories per gob
- Oven temperature: 250°F/121°C

Cake
  • 3 tablespoons all-purpose flour
  • 1 tablespoon dark cocoa powder
  • 1 teaspoon almond flour
  • 1/2 teaspoon cornstarch
  • 1/4 teaspoon cinnamon
  • 1/8 teaspoon coffee bean powder, very fine ground (see text)
  • 1/8 teaspoon chili powder
  • pinch of salt
  • 1 large egg
  • 1/8 cup granulated sugar
  • 1-1/2 teaspoon dark agave syrup or dark maple syrup (grade A)
  • 1/8 teaspoon vanilla extract
  • 1/8 teaspoon almond extract
  • 2 teaspoons butter
  • 1 teaspoon olive oil
  • 1 tablespoon raisin puree (see below, see text)
  • 1 teaspoon Concord grape jam
  • 2 teaspoons water
  • 1 cup lavender creme filling
  • 2 tablespoons dulce de leche (optional)
Raisin Puree
  • 1 tablespoon raisins
  • 3 tablespoons boiling water
Lemon-Lavender Creme Filling (makes 1 cup)
  • 1/2 package Dream Whip (about 2 tablespoons)
  • 1/4 cup cold milk
  • 1/4 to 1/2 teaspoon grated lemon zest (dried or fresh - see text)
  • 1/4 teaspoon vanilla extract
  • 1 teaspoon lavender sugar (see below)
Topping
  • 1/8 cup confectioner's sugar
  • 1 teaspoon lavender sugar (see below, see text)
  • fresh grated lemon zest (optional)
Lavender Sugar (makes 2 tablespoons)
  • 1 tablespoon sugar
  • 2 tablespoons dried lavender flowers
Preheat oven or cooker to 270°F/132°C.

Raisin Puree Method:


1. Soak raisins in boiling water.


2. Puree the mixture with an immersion blender or in a mini food processor.

Concord Syrup Method:


1. In a small microwave-safe bowl, mix grape jam and water. Heat in microwave until the mixture simmers (about 1 minute).


Lemon-Lavender Creme Method:


1. In a small bowl, mix the milk and lemon zest. Cover and infuse in the refrigerator for 5 to 6 hours or overnight.


2. Strain the milk. Press the lemon zest against the strainer to extract any remaining liquid and discard the zest. If necessary, add more milk to bring volume back up to 1/4 cup.


3. Refrigerate the lemon-milk until ready to use.


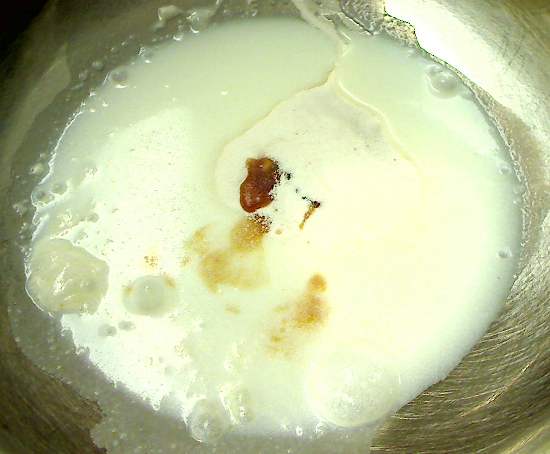
4. Prepare 1/2 of an envelope of Dream Whip (about 2 tablespoons of mix) according to the package instructions with the lemon-milk and 1/4 teaspoon of vanilla extract.


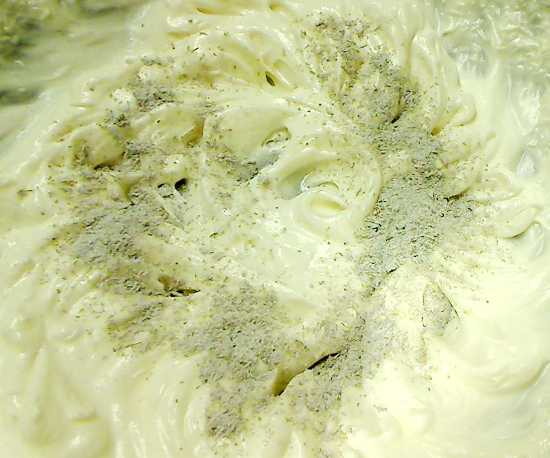
5. Mix in the lavender powder.


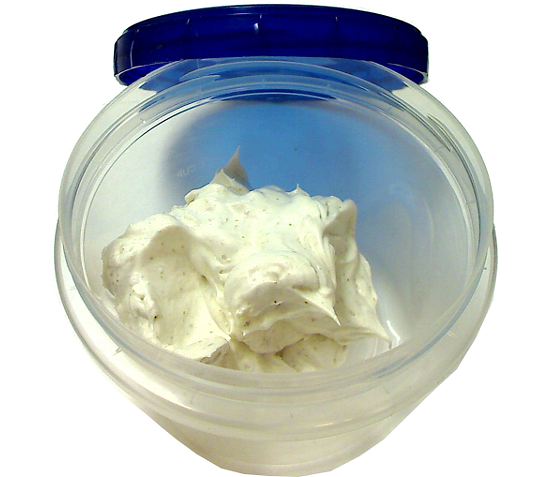
6. Cover and refrigerate until ready to use.

Gob Cake Method:


1. Thoroughly mix together the flour, cocoa powder and cornstarch in a small bowl and set aside. If available, cake flour can be substituted for the all-purpose flour and cornstarch.


2. Melt the butter in a small heatproof dish in the microwave. Mix in the olive oil and raisin puree. Set aside.


3. Put the egg, sugar, vanilla extract, almond extract, agave syrup and salt in a heatproof bowl and whisk until frothy.

4. Bring a saucepan with 1 inch of water to a simmer and place the bowl over the saucepan. Monitor the temperature of the mixture with an instant-read thermometer (preferably a digital instant read). Stir the mixture until it reaches a temperature of 105°F/41°C. Heating the mixture will help it hold more air when it’s whipped.


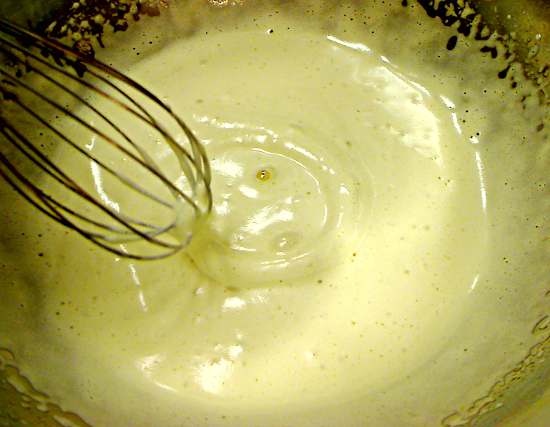
5. Remove the bowl from the saucepan and whip the egg mixture with an electric whisk or mixer on HIGH speed until the batter turns a pale yellow and the volume triples. When dripped from the beater, the batter should trail a ribbon that stays visible for about 5 to 6 seconds (about 4 or 5 minutes of beating, depending on the speed of the mixer).

For those with a strong handheld mixer or a stand mixer, I recommend beating the egg foam until the dripped ribbon stays visible for over 15 seconds.


6. Sift a small portion of the flour mixture over the batter and fold in with a spatula or large soup spoon.


7. Drip a portion of the butter-oil-raisin mixture along the edge of the batter where it meets the bowl and fold it into the batter.


9. Repeat steps 7 and 8 until both mixtures are completely incorporated.


10. Grease two mini heart molds (5/8 cup capacity) and spoon batter into molds. The molds should be at least half full.


11. Bake for 20 minutes at 270°F/132°C. Then reduce the heat to 250°F/121°C and bake for another 20 minutes. (Alternatively, bake in a steady oven at 250°F/121°C for 50 to 60 minutes - see text.) Test for doneness by inserting a toothpick or wood skewer into the center of a cake. It should come out clean, excluding any surface moisture.


12. Cool and unmold. Place on rack to allow any excess moisture on the bottom and sides to evaporate.


13. Each cake should be about 1/2 inch thick. Thinner cakes will be harder to slice.


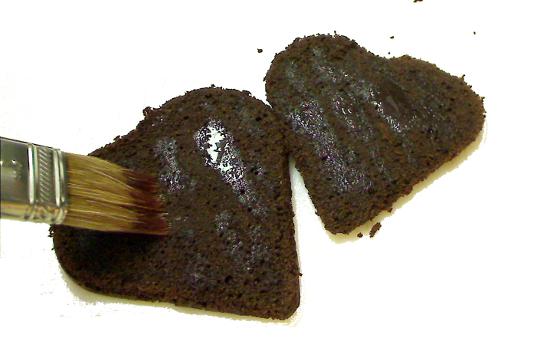
14. Slice each heart cake horizontally and brush the inside surfaces with the grape syrup. Avoid brushing on too much syrup or the cake will be soggy.


15. Spread one side with lavender creme and the other side with (optional) dulce de leche milk-caramel spread. Dulce de leche may be softened in the microwave for easier spreading.


16. Reassemble the cake halves. Dust the top of each gob with a mixture of confectioner's sugar and lavender powder. If desired, sprinkle on fresh grated lemon zest.