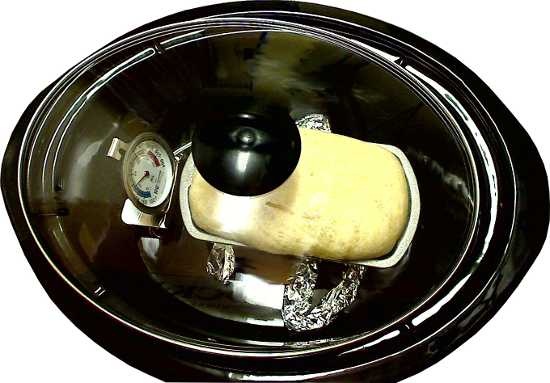
[ Equipment: slow cooker or oven. For more information about the terminology in this recipe, see Low Temperature Baking: A Journey of 3 Paths ].
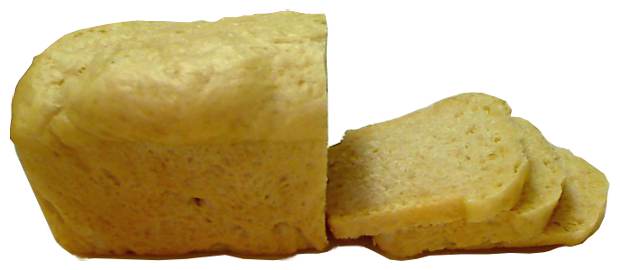
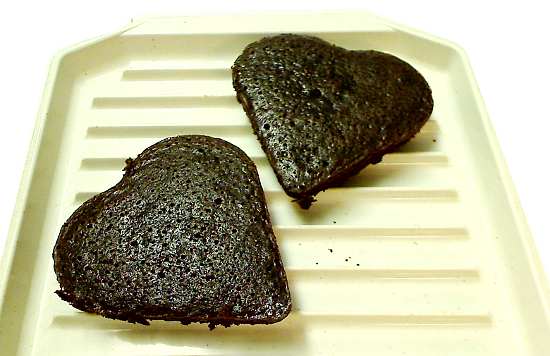
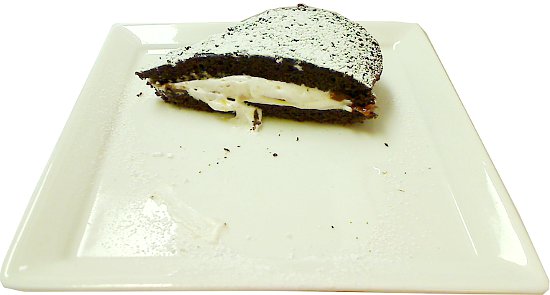
The slice of cake in the picture above looks like an ordinary chocolate cake, although there is only a tiny amount of cocoa powder in it. On close inspection, it's possible to distinguish a slightly reddish hue to the brown with flecks of vibrant red throughout. The red comes from hibiscus flowers that both tint the cake and give it a tart floral flavor. The cake isn't as brightly crimson as a red velvet cake, but it tastes like velvety sweet flowers.
It all began one day when I was watching celebrity chef Paula Deen on TV mixing up a red velvet cake, a traditional cake of the American South that gets its coloring from a combination of cocoa powder and red food coloring. She poured into the batter 2 full bottles of red food coloring and tossed in sticks of butter totaling 1/2 pound. The cake baked up a screaming fire engine red. Although red velvet cakes are said to be for special occasions (and hence the high fat and intense artificial coloring are supposed to be infrequent indulgences), I began researching for a way to eliminate the bottled food coloring and balance the calories for an everyday LTB cake.
During World War II, when red food coloring was scarce, red velvet cakes were reddened with grated beets or beet juice, but the resulting red faded or browned during baking. While studying red velvet cake recipes online, I also pulled up recipes for red earth cakes, similar to red velvet cakes in composition, but with a reddish brown tonality, because they contain less red food coloring. It was not clear that they are of southern origin. Yet, as I thought about it, a red earth cake seemed more evocative of the American South, assuredly so to non-Southerners. It was on red earth that the southern plantation beloved in popular culture stood, the red earth of Tara in Margaret Mitchell's Gone With The Wind. But I digress.
Because a red earth cake is meant to be more brown than red, I figured one with a natural food coloring could be successful, and the low heat of LTB might preserve the color better. Instead of beets, I had a bag of dried hibiscus flowers in one of my food bins. Hibiscus tea is deep red or purplish red, so I ground up 5 or 6 flowers in a coffee grinder to produce a fine powder as a colorant. Dried whole hibiscus flowers are sold in 3 oz. bags at my local market, but if they aren't available, it might be possible to substitute the contents of one or two herbal teabags (finely ground), which contain hibiscus as the main ingredient, though any other ingredients in the tea will affect the cake's flavor and color.
Normally, natural cocoa powder contributes its own redness when it's mixed with an acid ingredient like vinegar, but Dutch-processed cocoa, which is now sold as a baking cocoa, is non-reactive. The cocoa in this recipe is Hershey's Special Dark, a blend of natural and Dutch cocoas. It's present for flavor and to color the cake a deep brown only, not for any red coloring.
The cake has between 1/2 to 1 teaspoon of dark cocoa powder, a fraction of the amount in my Gotta Have Heart Cake, for example. Yet, it has a distinct chocolate taste, thanks to the coffee bean powder which amplifies the cocoa flavor to blend with the delicate hibiscus bouquet without overpowering it. For the best floral scent and flavor, I recommend adding 1/2 teaspoon of dark cocoa powder to the batter. To emphasize the chocolate and deep brown tone, increase the amount to 1 teaspoon of dark cocoa powder. The coffee bean powder is made by putting unbrewed ground coffee (canned coffee will do) into a coffee grinder and grinding it to a very fine powder.
Southern red cakes can have as much as 1/2 cup of butter or oil per cup of flour. This recipe has one teaspoon of butter for a taste of butter and applesauce to add moistness to the cake. The water content of applesauce varies by brand. If the batter is too dry or too thick, add more water or milk, a dribble at a time.
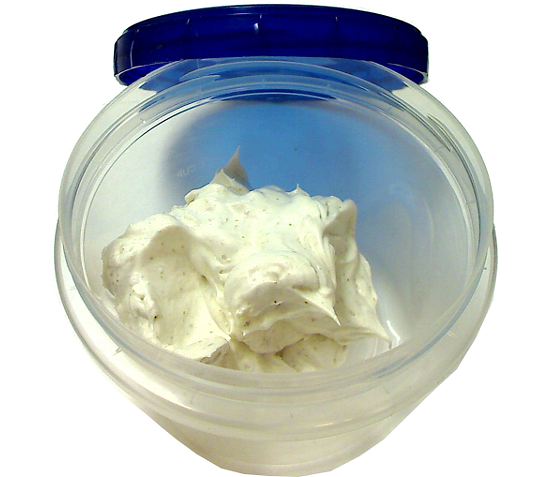
Paula Deen's red velvet cakes are dressed in a rich cream cheese frosting or icing. I like to serve a slice of this red earth cake with a dollop of light whipped topping (homemade or from the market), sprinkled with a few mini chocolate chips. Avoid any kind of heavily-flavored topping that would compete with or overwhelm the lovely hibiscus.
Makes 1 small loaf or 8 servings
- 620 calories per loaf or 78 calories per serving
- Oven Temperature: 250°F/121°C
- 1 teaspoon butter, melted
- 1/8 cup applesauce
- 1 large egg
- 1/4 cup sugar
- 1/8 teaspoon salt
- 1/4 teaspoon vanilla extract
- 1/8 teaspoon coffee bean powder (see text)
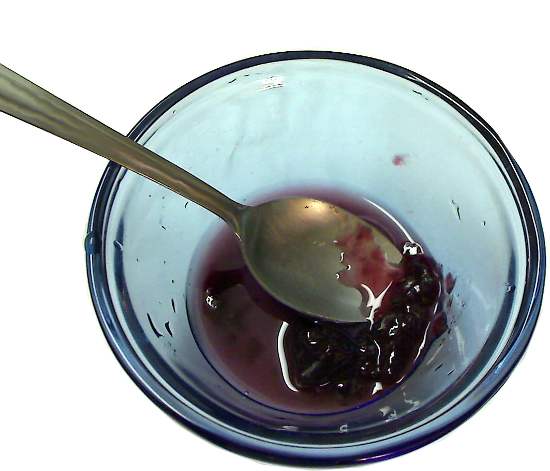
- 3 teaspoons powdered hibiscus flowers
- 1/8 cup milk, regular or reduced-fat
- 5/8 cup all-purpose flour
- 1/2 to 1 teaspoon dark cocoa powder (see text)
- 1 teaspoon cornstarch
- 1 teaspoon baking powder
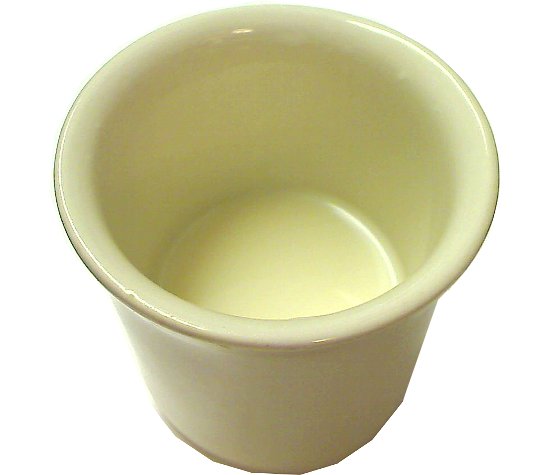
1. Grease a small loaf pan (5-3/4 inch x 3 inch). Set aside.

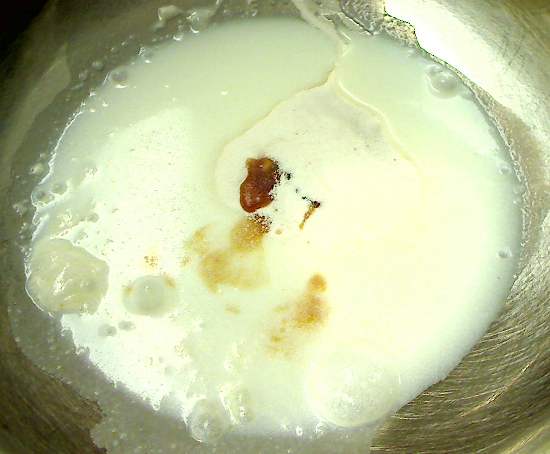
2. Heat the milk until hot. Put hibiscus powder in a cup and mix in the hot milk. Allow mixture to infuse for at least 5 minutes.

3. In a small bowl, mix melted butter and applesauce. Set aside.

4. In a medium bowl, mix flour, cocoa powder, cornstarch and baking powder. Set aside.

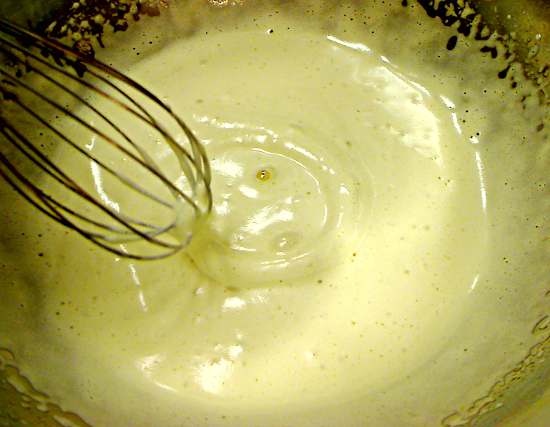
5. In a large bowl, whisk the egg, sugar, vanilla extract, salt and coffee bean powder until well combined.

6. Mix in hibiscus-milk infusion.

7. Stir in flour mixture in 2 or 3 portions. If the batter is stiff, dribble in some milk or water to thin it out a bit.

8. Pour batter into greased loaf pan and bake for 50 minutes. If baking in a cooker, put moisture-absorbing paper towels under the lid. Check for doneness by inserting a toothpick into the cake. If it comes out clean, the cake is ready.

9. Cool for 10 minutes and unmold. Cool cake on a rack for another 15 minutes and serve.