Showing posts with label cookies. Show all posts

Thursday, January 20, 2011

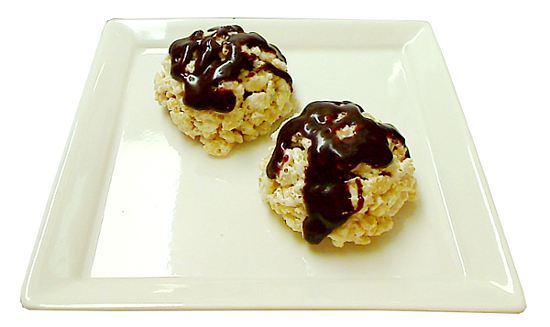
Papaya-Chocolate-Filled Krispy Bonbon Cookies (Dehydrated)


[ Equipment: Food dehydrator or dehydration oven. For more information about the terminology in this recipe, see Low Temperature Baking: A Journey of 3 Paths ].

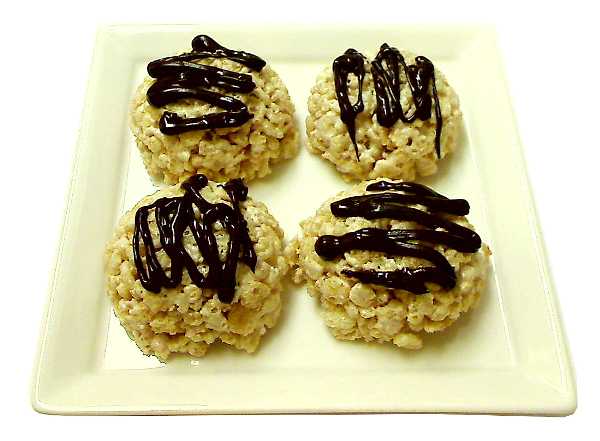
The inspiration for these cookies was the classic Rice Krispies Treats. They're molded and baked in a dehydration oven for a dry, crisp texture, very different from the sticky, gooey, greasy feel of old-time, pan-cut Treats squares. Ground almonds give body to the porous rice cereal cookie dough. The center filling is a fused sandwich of papaya and chocolate, a less common yet very delicious mix of flavors. Chocolate piping dresses the cookies up for company.

To make the filling, thin strips of dried papaya are wrapped around a chocolate chip, a variation of the technique for making the date-wrapped chips in my Black Sugar Trifecta cookies. As the cookies bake, the heat melts the chocolate into a layer between the papaya. Fruit leather strips would be an excellent substitute for the papaya. In fact, any number of solid fillings would be excellent in these cookies. A moister filling, such as a mix of peanut butter and chips or peanut butter and nuts, could work. Fillings that are too moist might impede the drying process. Of the fillings I've tried, I made one batch filled with a 1/4 teaspoon of mini chocolate chips, and another batch filled with date-wrapped chips. Candied nuts are up next on my checklist.

The standard substitute for marshmallow creme is marshmallows melted with a small amount of corn syrup, but there are recipes that allow for a direct substitution of marshmallows for marshmallow creme. Since marshmallows are solid at room temperature, a marshmallow binder might set too quickly. As an alternative to corn syrup, a pat of butter melted with the marshmallows might help lengthen the set time. I don't give exact amounts here because I haven't made this substitution yet.

Makes 8 cookies
- 70 calories per cookie
- Oven Temperature: 120-130°F/49-54°C in a dehydrator

Cookies
  • 1 cup puffed rice cereal
  • 4 tablespoons marshmallow creme
  • 1/2 tablespoon light agave syrup
  • 1/8 teaspoon almond extract
  • 1/8 teaspoon vanilla extract
  • 1/4 cup finely ground almonds or almond meal
Papaya-Chocolate Filling
  • 2 dried papaya spears
  • 8 regular size chocolate chips
Chocolate Glaze
  • 1 oz. Hershey's Special Dark chocolate bar

Chocolate-Papaya Filling Method:


1. Slice papaya spears into 8 strips about 3/4 x 1-1/2 x 1/16 (inch) strips.


2. Press the pointy tip of a chocolate chip into one end of a strip.


3. Fold the other end of the papaya strip over the chip to form a pocket and press down on the edges to seal the pocket.

4. Repeat steps 2 and 3 for the remaining chips.

Chocolate Glaze Method:

Note: Prepare the melted chocolate after the cookies have finished baking and cooled.
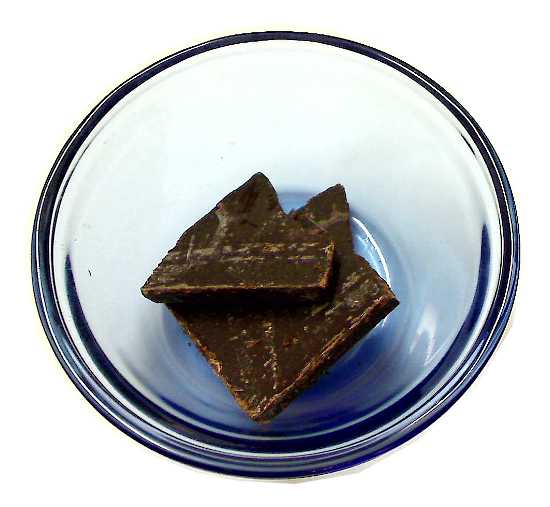


1. Chill chocolate bar until hard and break or slice off 1 oz. of chocolate. The picture above shows 1 oz. of pieces from a Hershey's Special Dark Chocolate bar.

2. Slice or chop chocolate into slivers and place in heatproof dish.


3. In a microwave, heat chocolate on HIGH power for 20 to 30 seconds and stir. Repeat heat-stir until chocolate is melted and smooth (about 2 minutes). Alternatively, melt the chopped chocolate in a double boiler.
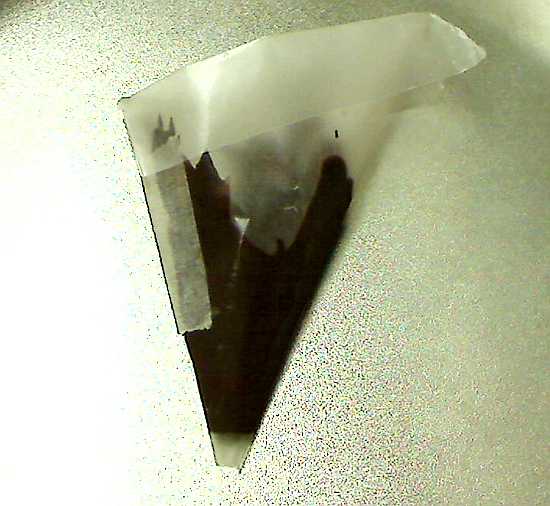


4. Fold a square of wax paper (about 6 x 6 inches) into a small piping bag and fill with melted chocolate. The bag should have a tip hole that extrudes a 1/8-inch line of chocolate. If necessary, enlarge the hole by snipping the tip with scissors.

Cookies Method:

Note: The cookies shown below were baked in my homemade Presto Chango dehydration oven. The instructions may need to be modified to work with commercial food dehydrators.


1. Put ground almonds, marshmallow creme, vanilla and almond extracts, and the agave syrup in a heatproof bowl.


2. Microwave the mixture on HIGH for about 30 seconds until the marshmallow creme has just liquified. Stir to combine ingredients.


3. Add puffed rice cereal and gently stir until evenly coated with the marshmallow creme.


4. With a greased spoon, fill half of a greased 1/8-cup-capacity ice cream scoop with the puffed rice, pressing a slight indentation in the center.
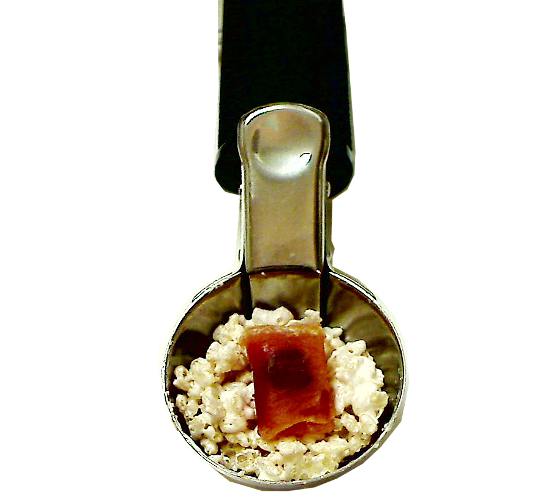


5. Place a papaya-wrapped chip in the center.


6. Fill the scoop to level with more puffed rice mix. With the back of the greased spoon, gently press down on the puffed rice to compact it (without crushing the rice).
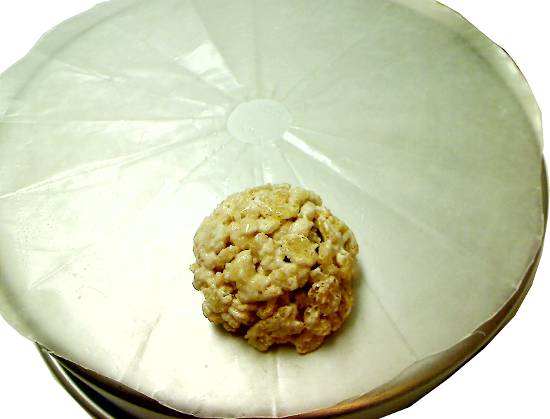


7. Release the cookie from the scoop onto a greased dehydrator liner. The one in the picture was cut from wax paper, 8 inches in diameter with a 1/2-inch center hole to facilitate heat flow.


8. Repeat steps 4 to 7 to make a total of 8 cookies.


9. Transfer the cookies (with liner) to the dehydrator. Dehydrate at 120°F/49°C for 6 to 8 hours or until the cookies feel dry to the touch and hold their shape when lifted up. A higher dehydration temperature will reduce drying time, but risk damaging the enzymes in the raw ingredients.


10. Let cool thoroughly. If desired, pipe or spread melted chocolate over cookies.


Thursday, September 30, 2010

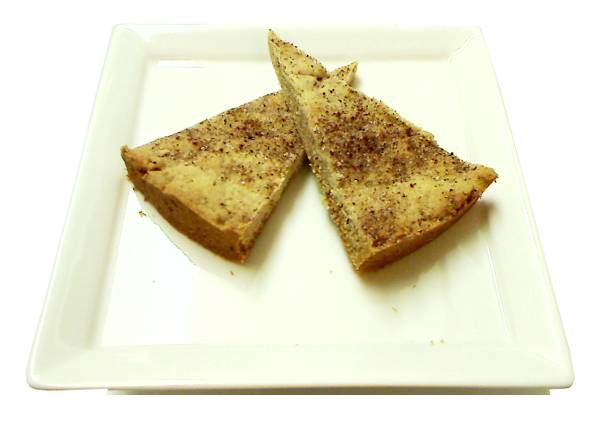
Star Anise Bizcochitos


[ Equipment: oven or slow cooker. For more information about the terminology in this recipe, see Low Temperature Baking: A Journey of 3 Paths ].

A small bag of star anise pods sat in my food bin for months until I discovered bizcochitos, New Mexican shortbread cookies with anise seeds as the primary flavoring. Anise seeds and star anise are very close in taste (star anise is said to be a little more bitter), so I reckoned the substitution would be just about perfect. Plus, regular shortbread cookies bake in relatively cool ovens. Basic bizcochito recipes would need only minor tweaks to adapt them for LTB.

The origin of bizcochitos dates back hundreds of years to the early Spanish settlements in the Americas. They are a great source of cultural pride, as they are the official cookie of New Mexico. Even the spelling of the name with a "z" (bizcochitos as opposed to biscochitos) emerged from legislative debate. I can't say how well my cookies compare with authentic bizcochitos from a New Mexican bakery, but I can say they are delicious, lightly sweet and aromatic with a gentle taste of licorice and cinnamon and essence of dried grapes.

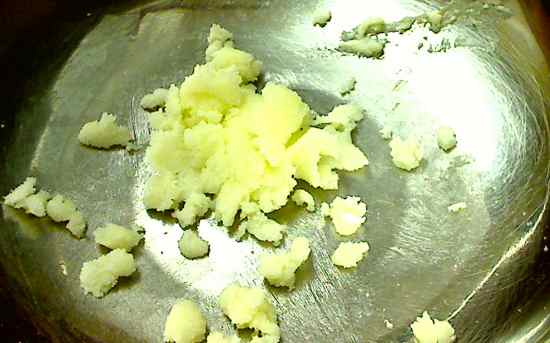
Traditional bizcochitos are made with lard, and some recipes I studied warned that cookies made with vegetable shortening would not possess authentic flavor and texture. I could not find lard at my local markets, so I had to try the shortening instead. In pastries baked a low temperatures, the taste of the shortening is not completely masked by the other ingredients. Cookies made with all butter had excellent flavor but lacked the same degree of crispness. So, I settled on a blend of half butter and half shortening (1-1/2 tablespoons each of butter and vegetable shortening to make 3 tablespoons of the blend). The recipe does list lard as an alternative, but I have never actually baked these cookies with lard at low temperatures, so I cannot vouch for the result.

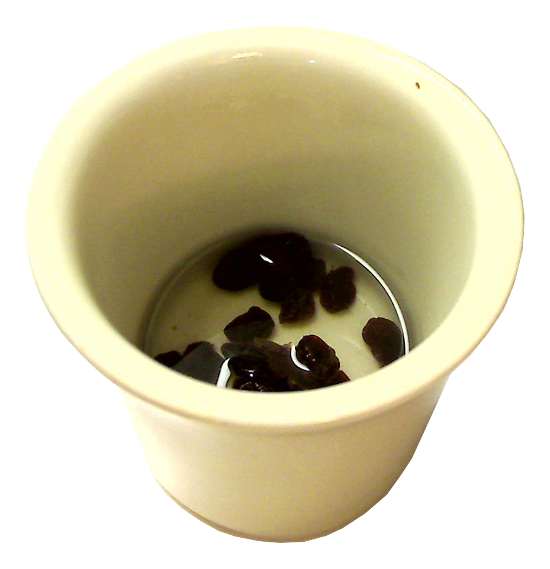
The raisin water is, in my opinion, a flavor-packed alternative to the wine and/or orange juice in many bizcochito recipes. It's very easy to make. Freeze any leftover raisin water or add it to a beverage (like yummy chocolate milk). Of course, wine or orange juice can substitute for the raisin water, if desired.

Ground cloves are not a common spice in bizcochitos, but the small amount in the dough ties all the flavors together and cleans up the anise aftertaste. By comparison, the cookies without the cloves taste kind of drab. I don't recommend omitting it.

I made my own star anise powder by fine grinding whole star anise pods in a coffee or spice grinder. A small bag of the pods cost me about $1 US, which when ground into powder will fill a standard 2 oz. spice jar. If star anise isn't available, an equal amount of ground anise seed should work as well.

This is the first slow-baked cookie recipe on VaporBaker (not counting any pastries with a cookie-like shell). In normal baking, cookies require a large amount of oven real estate to spread out as they bake. My LTB ovens are converted slow cookers and would yield tiny batches of those kinds of cookies. Then one day, I saw celebrity chef Emeril Lagasse on TV demonstrating how to bake shortbread cookies in a round pan without wasting any space and obtaining a respectable yield. I immediately realized that the technique could be adapted for cramped ovens like mine.
Makes 8 or 12 cookies
- 90 (12) to 135 (8) calories per cookie
- Oven Temperature: 250°F/121°C

Cookie Dough:
  • 1 cup all-purpose flour
  • 1/4 teaspoon baking powder
  • 1/2 teaspoon ground star anise (see text)
  • 1/4 teaspoon ground cinnamon
  • 1/8 teaspoon ground cloves
  • 1/8 teaspoon lemon zest (dried or fresh)
  • pinch salt
  • 1/4 cup sugar
  • 3 tablespoons 50-50 butter-shortening blend or lard (see text)
  • 1 egg yolk
  • 1 tablespoon raisin water (see text)
Raisin Water:
  • 1-1/2 tablespoon raisins
  • 1/4 cup boiling water
Topping:
  • 1 teaspoon sugar
  • 1/8 teaspoon ground cinnamon
  • 1/8 teaspoon ground star anise
Preheat oven or cooker to 250°F/121°C.

Raisin Water Method:


1. Put raisins in a cup and cover with the boiling water. Cover and allow the raisins to reconstitute for at least 30 minutes.


2. Pour the raisins and water into a mini food processor or blender and puree (or puree with an immersion blender). Strain, pressing the pulp to extract the last drops of flavored liquid.

Cookie Method:


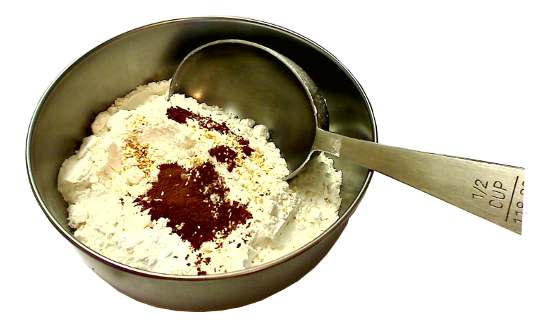
1. In small bowl, whisk all of the dry ingredients (except the sugar) to thoroughly combine and set aside.


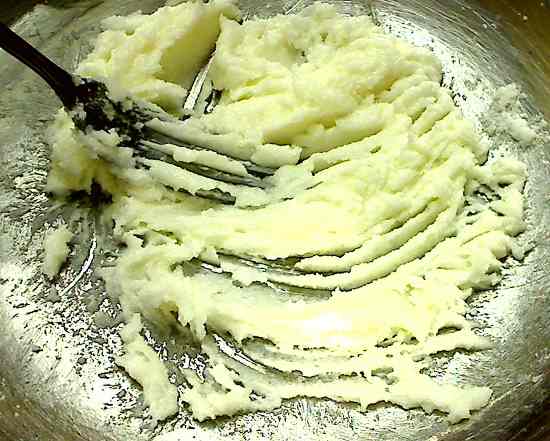
2. In a large bowl, cream shortening and butter (or lard) and sugar with a fork.


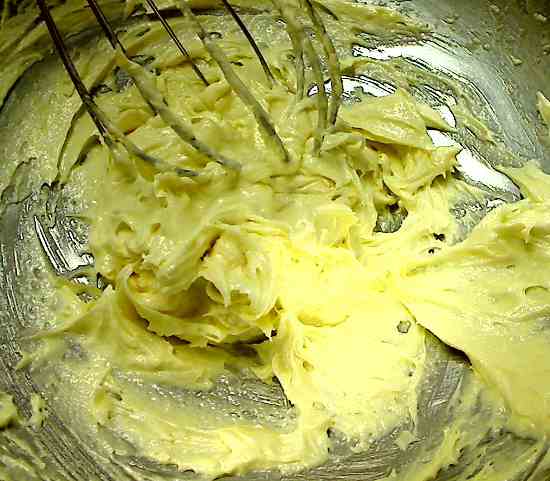
3. Add egg yolk and raisin water, and beat with a whisk until light and fluffy.


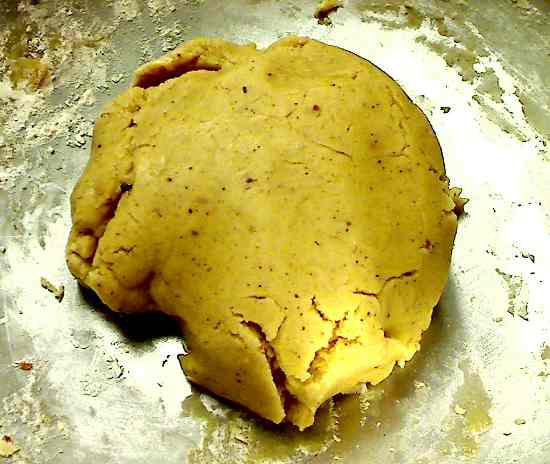
4. Add flour in portions, mixing with the whisk and then a wood spoon and then kneading in the final portions of flour to form a VERY stiff dough. If the dough is too dry and won't incorporate all the flour, add drops of raisin water to soften the dough a little. Knead a few more times to form a smooth surface. Do NOT overknead.


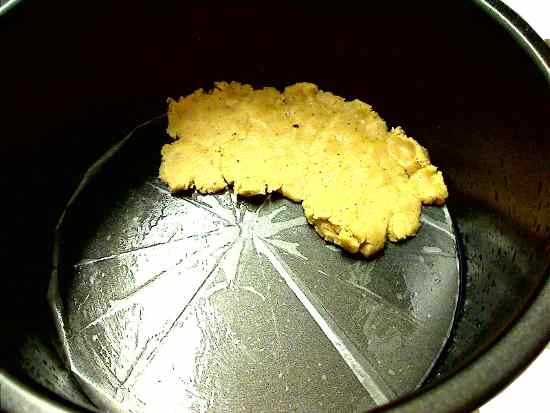
5. Grease a 7-inch springform pan or cake pan with removable bottom. Cut out a 7-inch diameter circle from wax paper or parchment paper and place in bottom of pan. Grease the top of the paper.


6. Break off pieces of the dough, and pat them evenly onto bottom of pan.


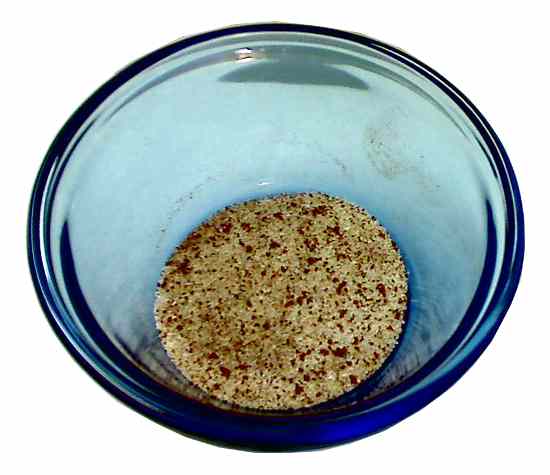
7. In a small dish, combine ingredients for topping.


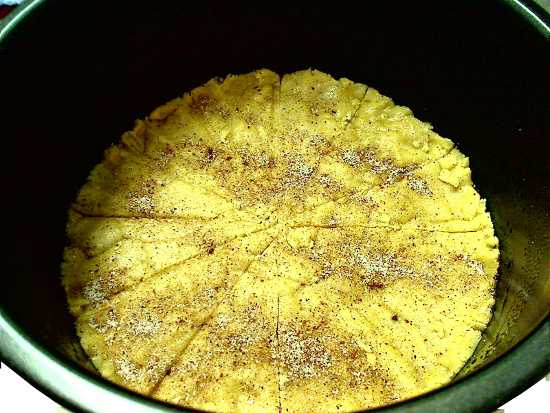
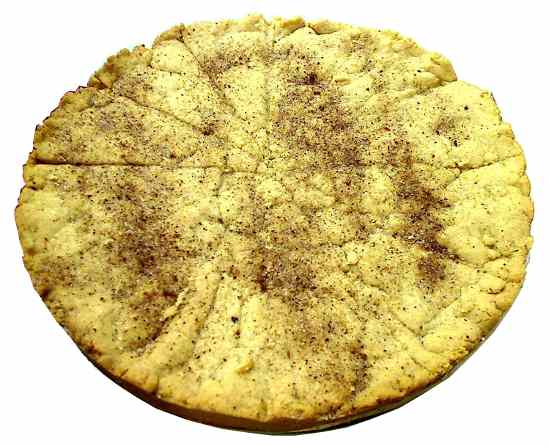
8. Sprinkle sugar mixture over the dough. Score the dough with a knife or flat-bladed dough scraper into 8 or 12 wedges. The scoring should go through the thickness of the dough. Bake for 50 to 60 minutes or until the edges are a light golden brown.
If baking in a cooker, put moisture-absorbing paper towels under the lid. When the cookies are done and if there is moisture condensation on top of the cookies (as often happens in small ovens or cookers), remove any moisture-absorbing towels and continue baking another 5 minutes or so with the cooker lid ajar to dry them off.


9. Cool and unmold. With a knife, press down into score marks on the cookies to separate them.

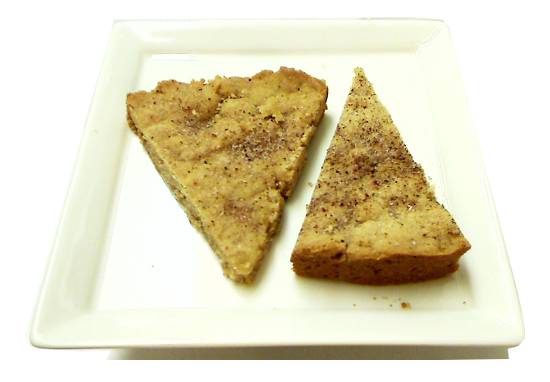
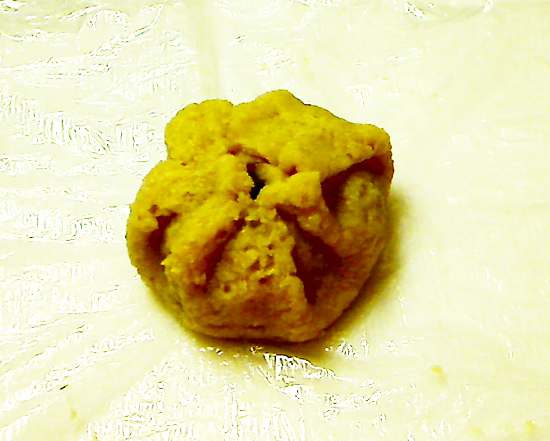
Below is a picture showing 2 bizcochitos: one from an 8-cut and one from a 12-cut.

Thursday, September 23, 2010

Chinese Mooncakes With Plum-Lima Bean Filling (Baked)


[ Equipment: oven or slow cooker. For more information about the terminology in this recipe, see Low Temperature Baking: A Journey of 3 Paths ].

The Chinese Moon Festival happens on September 22 this year, which means: it time for eating mooncakes! This recipe is a healthier take on the classic pastry. It begins with a filling made from dried plums and baby lima beans, replacing the traditional red bean paste which was loaded with fat and sugar. The shell is a low-fat, soft crumb version of the crispy, eggy crust of Shanghai mooncakes from Malaysia. All together, this tasty reconstruction has 1/3 the calories of the mooncakes of yore.

Many people prefer to buy mooncakes than make them under the mistaken belief that they require fancy molds and esoteric ingredients. The popular thin-skinned Cantonese mooncakes sold in the US are molded, but other styles, like the Shanghai mooncakes, are shaped by hand with varying degrees of decoration. Homemade mooncakes can be as elaborate as the baker has time to lavish on them, pleasing the eyes and palette - and the wallet, since a single mooncake can cost over $10 US, and prices are rumored to be higher this year.

This recipe doesn't jettison the original concept of mooncakes, as some of today's so-called mooncakes might be accused of doing. In the ingredients and the form are elements of the past. Although the basis of the filling is pureed dried plums, the baby lima beans give structure, cut the intense sweetness and echo the legume nature and shading of traditional red bean paste. (Prepare the beans by soaking them in water ovenight; then simmer until tender, about 40 to 50 minutes.) The 1/2 to 1 teaspoon of sugar is to taste. It acts as a preservative too, since the lima beans dilute the sugar concentration and could weaken the anti-bacterial properties inherent in the dried fruit.

The rich brown of the plum-bean paste contrasts nicely with the yellow-orange of the whole dried apricot, representing the moon (and standing in for the traditional salted egg yolk). Alternatives to dried plums include dried figs or dates. The lima beans could be replaced with another firm, mild flavor bean like mung beans or soy beans or try any bean in the cupboard. Dried nectarines, peaches or kumquats would make fine moons too, if they are small and fit inside the pastry.

I first read about Shanghai mooncakes at Corner Cafe. They originated in Malaysia, not Shanghai, by way of a similar pastry from Hong Kong. For my recipe, the biscuit crust has been modified in content and technique to reduce the fat and develop a flakier crumb. Yogurt compensates for the excised butter. It imparts richness as well as hydrates the dough. I originally substituted more beaten egg, but decided that the strong eggy flavor competed with the filling. Plain yogurt is fine, but vanilla yogurt brings a touch of smoothness.

Shanghai mooncakes have a crispy, crunchy shell, while the skin on Cantonese mooncakes is soft and chewy. In both types, the dough is kneaded to develop the gluten. In this recipe, the wet ingredients are incorporated into the dough with very little kneading or stirring to avoid developing the gluten for a tender, flaky pastry, as in a pie crust. In the alternative, for a more traditional, chewier texture, the dough could be kneaded briefly. I pressed the mooncakes into mini tart pans to flatten them into disks and flute the edges, like the scalloped sides on Cantonese mooncakes.

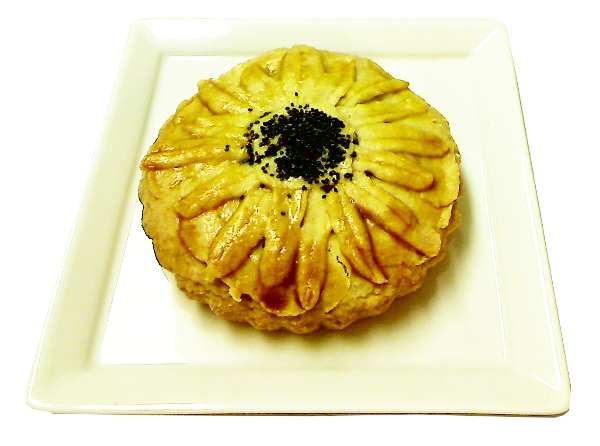
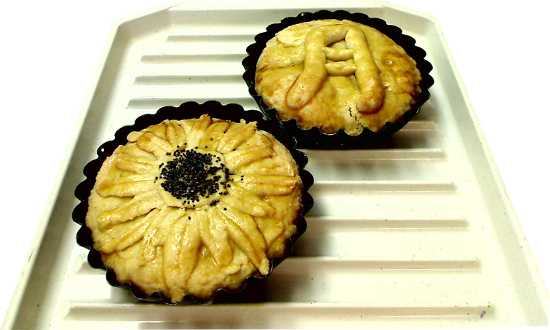
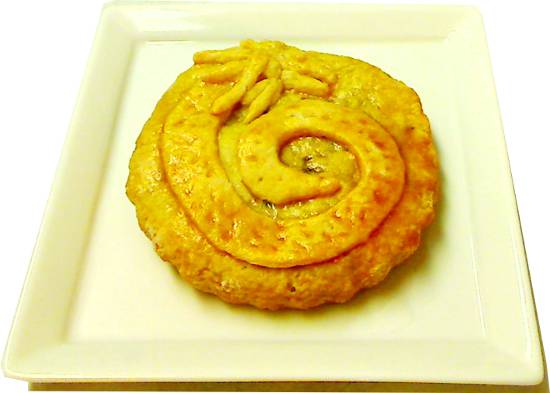
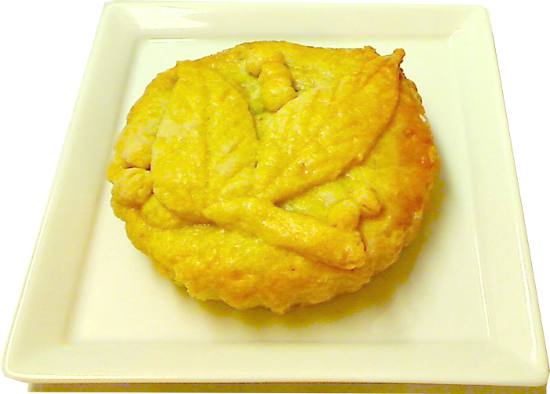
The decoration on top of Shanghai mooncakes can be as simple as almond slivers or pumpkin seeds arranged in an attractive pattern. However, consumers have come to associate the fine and fancy reliefs on Cantonese cakes as a measure of quality. While hand-crafted individual designs are too labor intensive for commercial sales, artisan and home bakers can let their imaginations fly. For the cakes the pictures, I cut out designs from scrap dough, embossed them with the dull back of the knife, laid the pieces out on top and varnished the surface with egg wash to glue them down. An alternative to cutting out and assembling the designs is to imprint the scrap dough with a small cookie mold or stamp it with a cookie stamp.

Makes 2 mooncakes
- 310 calories per mooncake
- Oven Temperature: 250°F/121°C

Pastry:
  • 1 tablespoon butter or vegetable shortening
  • 1/8 cup sugar
  • 1/4 teaspoon baking powder
  • 1/2 cup flour
  • pinch of salt
  • 1 tablespoon plain or vanilla yogurt (see text)
  • 1 egg beaten (see text)
Filling:
  • 12 dried plums or prunes (about 1/2 cup)
  • 1/8 cup cooked baby lima beans (see text)
  • 1/2 to 1 teaspoon sugar
  • 2 dried apricots (see text)

Filling Method (makes about 3 tablespoons):


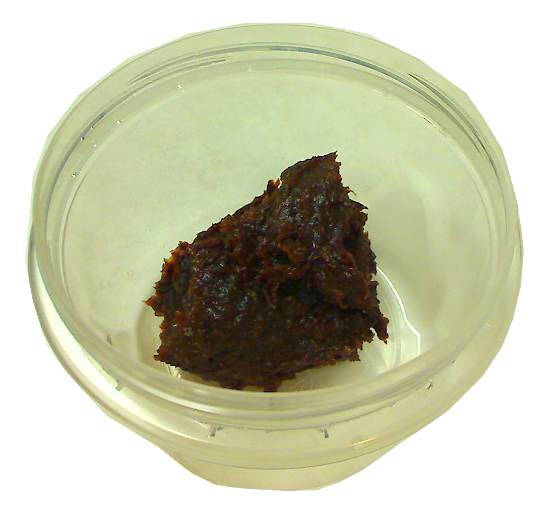
1. Put dried plums, lima beans and sugar in a small bowl and with an immersion blender, puree to a smooth paste. Alternatively, put ingredients in mini food processor and puree to a smooth paste.


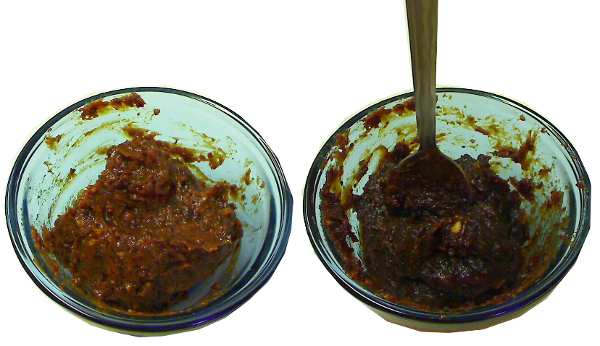
2. Transfer paste to a microwave-safe dish and heat on HIGH for 15 to 20 seconds. Remove (careful, dish may be very hot) and stir paste vigorously for about 30 seconds to release steam and cool. Put back in the microwave and repeat heat-stir process another 5 or 6 times, until mixture has darkened and stiffened to the point that an inserted spoon will remain standing.

Alternatively, transfer paste to a small nonstick fry pan and stir over low heat until mixture has darkened and stiffened to the point that an inserted spoon will remain standing.


3. Cool and store in a closed container or plastic bag. Refrigerate until ready to assemble mooncakes.

Pastry Method:

Pre-heat oven or cooker to 250°F/121°C.


1. In a bowl, cream butter and sugar with fork until well combined.


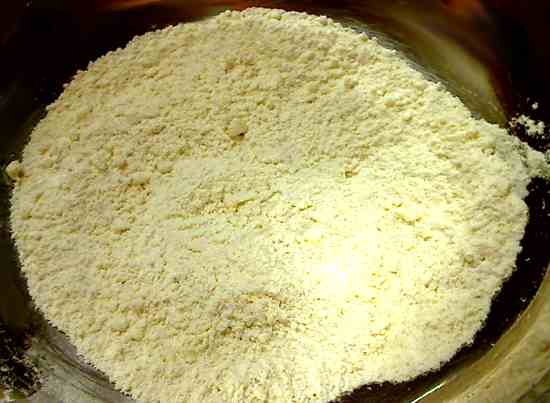
2. In a small bowl, mix flour, baking powder and salt until well combined. Cut flour mixture into butter mixture with a fork or pastry blender until mixture looks uniformly crumbly.


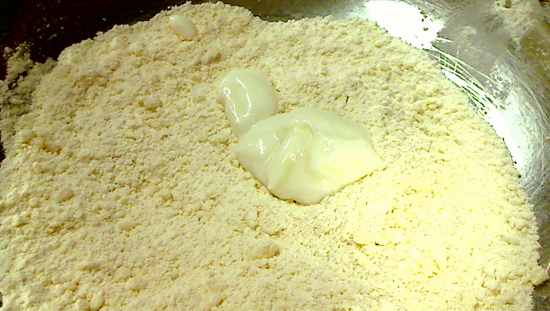
3. Add yogurt and gently toss in flour until yogurt is evenly distributed.


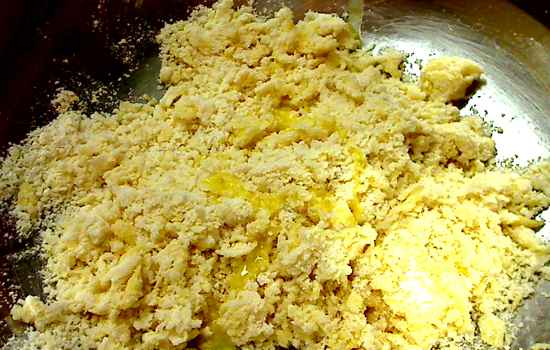
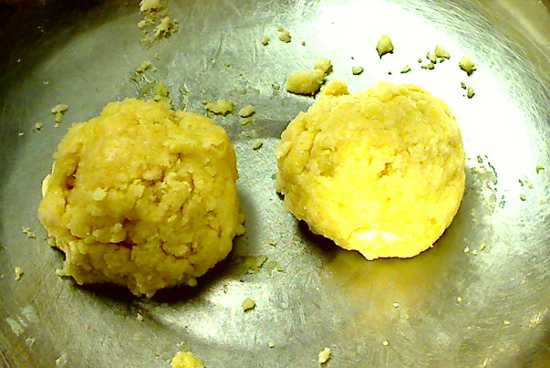
4. Add beaten egg, one teaspoon at a time, using toss, press, crumble actions until mixture just comes together and forms a dough (about 3 to 5 teaspoons). Avoid stirring or kneading the dough or the gluten will toughen the pastry (or lightly knead for a chewier texture - see discussion above).


5. Divide dough into 2 portions.


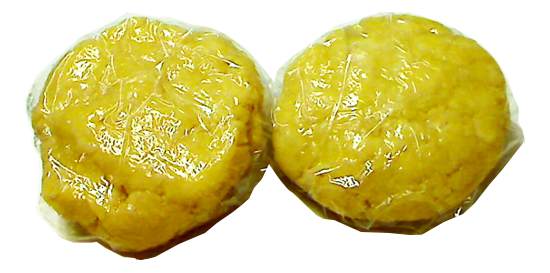
6. Shape each portion into a small disk and cover with plastic wrap (plastic wrap should be larger than 6-inches square). Refrigerate for 30 minutes.


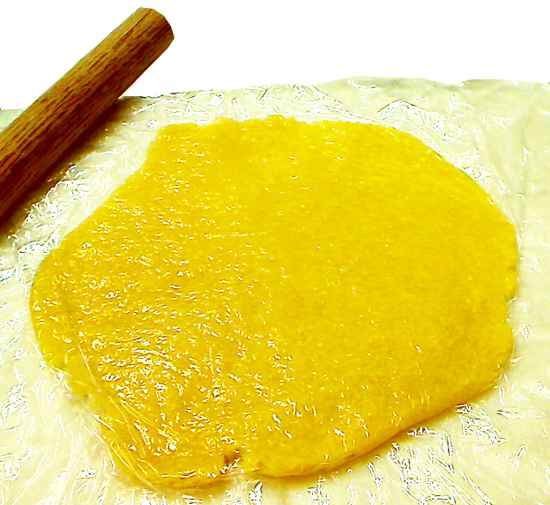
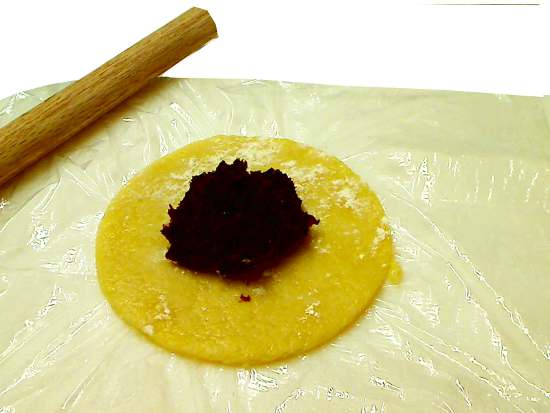
7. Unwrap one disk, lightly dust the dough and plastic with flour, and place disk on center of plastic wrap. Place a another piece of plastic wrap over the dough and roll out a rough circle about 5-1/2 to 6 inches.


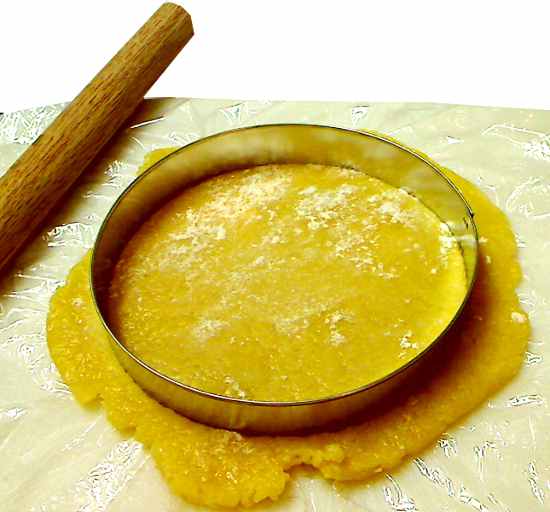
8. Remove top plastic wrap, dust with flour and press a 4-1/2 inch round cookie or biscuit cutter into dough. Peel off excess dough and save for decoration. The 4-1/2 inch dough circle could be cut out freehand with a knife too. The cookie cutter method is only a convenience.


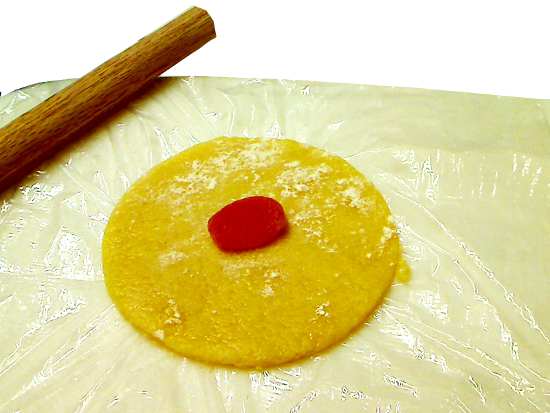
9. Optional: place a dried apricot in the center of dough.


10. Put 1-1/2 tablespoons of filling in center of dough, covering the apricot.


11. Lift up sides of dough to wrap the filling and pinch the top closed to form a ball. If the dough is very moist and threatens to tear, slide a butter knife or a frosting spatula under the dough and gently lift up over the filling.


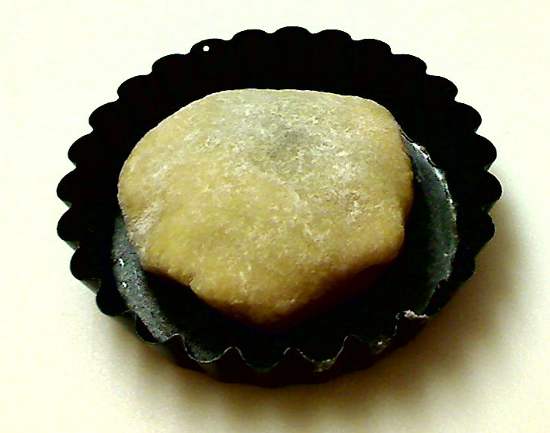
12. Dust the dough ball with flour and gently flatten into a disk, about 3-inches in diameter. Put the disk into a greased mini-tart pan (4-inches diameter), seam side down.


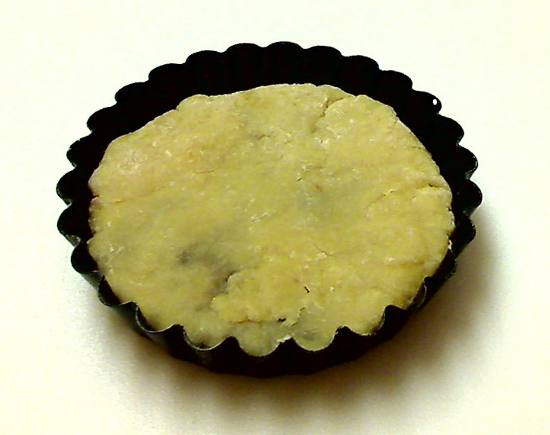
13. Press disk outward until the disk touches the sides of the pan. If there are any thin spots on the surface, cover them with thin sections of scrap dough and rub down edges. The patches don't have to be blended into the surface, because any telltale seams will be hidden by decoration.


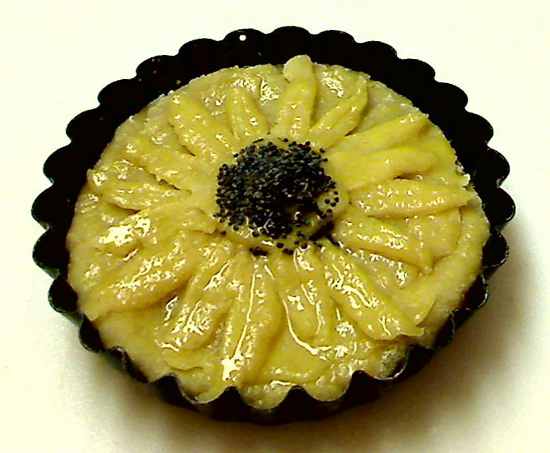
14. With scrap dough, create a decoration on top of the mooncake. Typical mooncake images include flowers, leaves, animals, fishes, abstract patterns and chinese characters. Brush the mooncake with an egg wash made from the leftover beaten egg thinned with 1 or 2 teaspoons of water. In the above picture, the flowerhead on the daisy decoration was covered with poppy seeds for a 3-dimensional effect. The poppy seeds were sprinkled on after the egg wash so they would adhere to the surface.


15. Bake at 250°F/121°C for 60-70 minutes until golden brown. Cool for 30 minutes and unmold. Put the mooncakes on a rack and continue cooling until the bottoms of the mooncakes are dry.


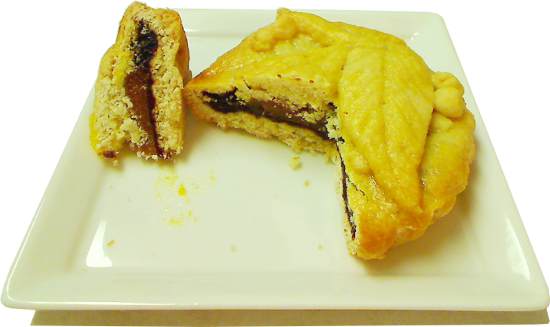
16. The picture above shows the inside of a mooncake with apricot "moon". I've stored these mooncakes at room temperature for over a week. The high sugar, low moisture filling resists spoilage. However, I strongly recommend that they be stored in the refrigerator in an airtight plastic bag or container for maximum freshness.

Shown below are some more of my mooncake creations. The designs are (in order) a Chinese dragon, leaves and berries and the Chinese character for "moon".