[ Equipment: slow cooker or oven. For more information about the terminology in this recipe, see Low Temperature Baking: A Journey of 3 Paths ].
The first thing I ever baked in a LTB oven was a pie pastry, and although I've baked other pie pastries since, I hadn't tried a rustic fruit tart. Fruit pies have very wet fillings, and the moisture can penetrate the crust over long LTB times and cause sogginess. The situation is worse with LTB, because less juices evaporate in the cooler heat. The crust of a rustic tart cannot be pre-baked, so the fruit must be drained of excess juices beforehand and the crust prepared to soak up any juices that seep out.
The base recipe for this pie crust was published in Cooking Light Magazine and contains about 1/2 the fat of other recipes I've seen. I wanted a low-fat crust both to reduce the calories in the tart and to reduce the baking time. Pastry chefs have known that standard pie crusts can be baked as low as 300°F with the trade-off of more oven time (see The Case For Baking Pastry Shells Blind At Low Heat by Florence Fabricant). However, as a preference, LTB on VaporBaker cools the oven down to 250°F. The handful of higher-fat doughs I tested at 250°F were dense, hard and greasy. Those tests were done several months ago, and the poor results could have been inherent in the recipes or due to my faulty culinary technique. I may re-test higher-fat crusts, if there are recipes that demand them.
I made 2 changes to Cooking Light's base recipe: more shortening and the addition of sugar. I increased the amount of shortening by 1/2 tablespoon, because the dough from the original recipe was too dry after the fat had been cut into the flour mixture. The reason for the dryness could be that the 1/2 cup of flour I measured out weighed 0.25 oz more than in the original recipe. (It wasn't due to the introduction of sugar, because I made a sugarless crust that also needed the additional shortening.) Rather than remove the excess flour, I saw it as an opportunity to re-balance the butter-to-shortening ratio to devise a crust that holds its shape better through long baking times. The extra shortening adds only 25 calories per tartlet. For those who object to the shortening as an ingredient, an all-butter crust should be fine in this recipe, as rustic tarts aren't fussy about shaping.

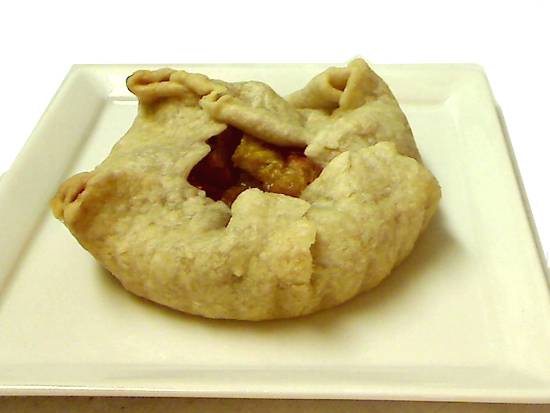
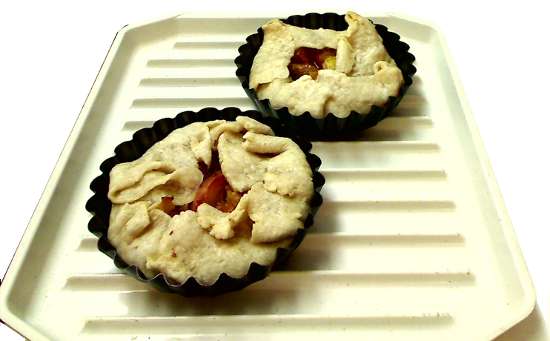
The small amount of sugar turns the pie dough into a pate sucre, but it's main purpose to give the crust a golden color from caramelization. Crusts without sugar resist browning in LTB. The picture above shows an apple tartlet with a sugarless crust. While the pictures of the nectarine and apple tartlets don't highlight the color differences very well, the apple tartlet was lighter, and both spent the same amount of time in the oven (in fact, I may have baked the apple tartlet a few minutes longer to try and get it to brown more). As an alternative to a pate sucre for a golden crust or to deepen the color of a pate sucre, brush the crust with a bit of beaten egg or milk before baking.
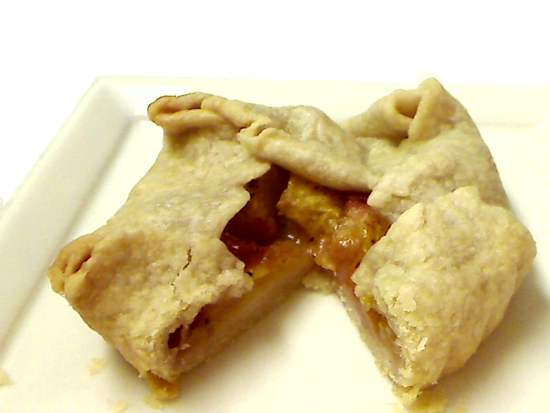
The idea for drawing out juices from the fruit by macerating it with sugar originated from Rose Levy Beranbaum's Cake and Pastry Bible. Where she cooks down the drained juices and adds this caramelized concentrate to the pie, I usually leave it out unless the first batch of tartlets were too dry. Even after the fruit has macerated, it will continue to release juices as the tart bakes. Therefore, I sprinkle a sugar-flour mixture on the inside bottom of the tart to soak up and thicken the liquid for a moist filling that doesn't run. I did make tartlets without the thickener, and there were one or two dark spots underneath the crust implying that some juices may have seeped into the dough (the tartlet didn't leak juices, however).
I shaped and baked the tartlets in mini tart pans as a convenience, but they could as easily have been created free-form. My tartlets have been filled with nectarines and apples so far. I'm confidant that peaches, plums, cherries, kiwis and assorted berries should work as fillings too. Smaller berries like blueberries could be baked whole.
Makes 2 tartlets
- 280 calories per tartlet
- Oven Temperature: 250°F/121°C
Pie Crust:
- 1/2 cup all-purpose flour (2.5 oz/70gr)
- 1-1/2 teaspoon sugar
- 1/8 teaspoon salt
- 1 tablespoon vegetable shortening (zero trans-fat)
- 1 tablespoon butter
- 1-1/2 tablespoon ice water
- 1/2 teaspoon chilled lemon or lime juice
- 1/2 to 3/4 cup roughly chopped fruit (shown are nectarines and apples)
- 1 teaspoon lemon or lime juice
- 1 teaspoon sugar
- 1/8 teaspoon nutmeg
- 1/8 teaspoon cinnamon or ginger
- extra sugar for sprinkling
- 1 teaspoon all-purpose flour
- 1 teaspoon sugar
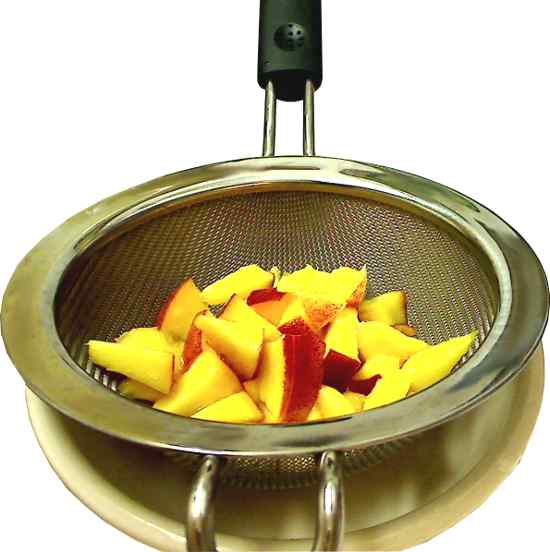
1. Toss fruit in lemon juice and sugar. Pour into sieve and place sieve over a bowl to catch liquid. Allow fruit to sit for about 1 hour.
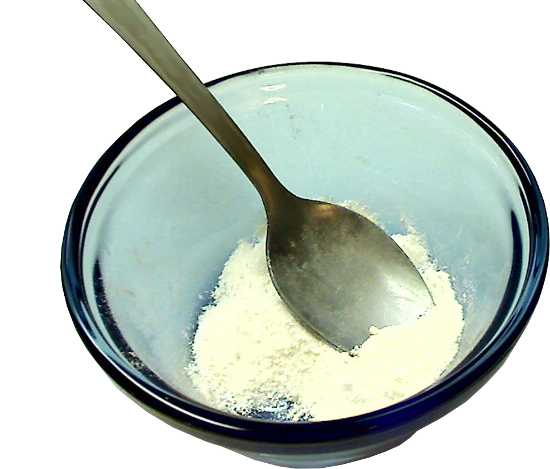
2. In a small bowl, mix flour and sugar for thickener. Set aside.
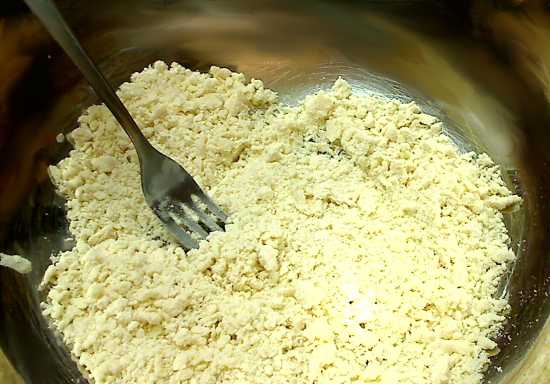
3. In a large bowl, mix dry ingredients for pie crust: flour, sugar, salt. With a fork, cut in the butter and shortening until the mixture looks uniformly crumbly. The fork should have thin tines, so that the fat is cut into the flour, not mashed into it. Of course, a pastry cutter works too.
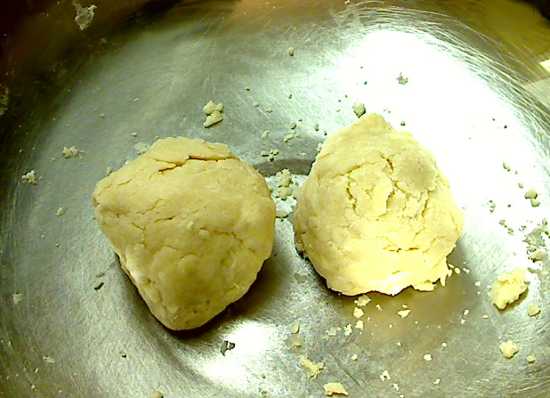
4. Combine ice water and lemon juice in a small cup. Sprinkle liquid, 1 teaspoon at a time, over flour mixture, lightly toss and press until it forms a dough that holds together. Do not mix or knead the dough or the gluten will toughen the crust. Divide dough into 2 parts.
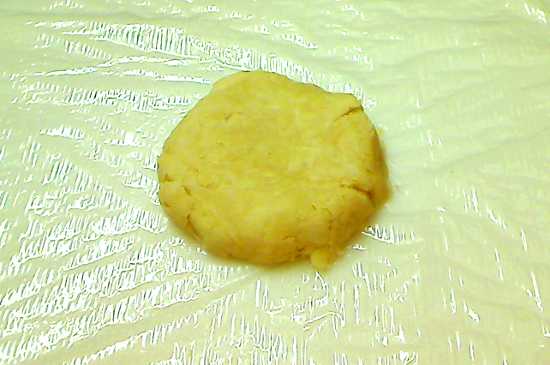
5. Shape each ball of dough into a disk. Cover with plastic wrap and refrigerate for 30 minutes.
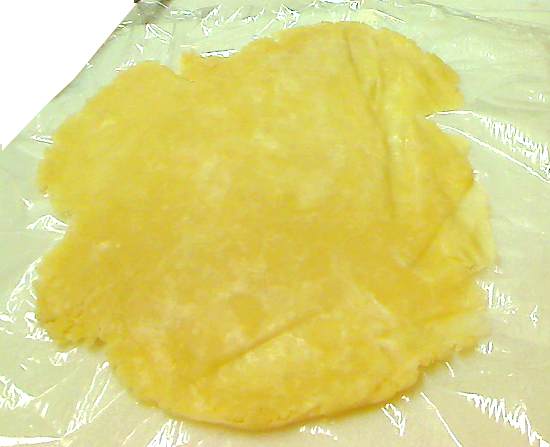
6. Unwrap a disk of dough and lay it on the center of the plastic wrap. Place another sheet of plastic wrap over the dough. Roll out the dough until it is roughly 6 inches in diameter. Remove the top sheet of plastic wrap.
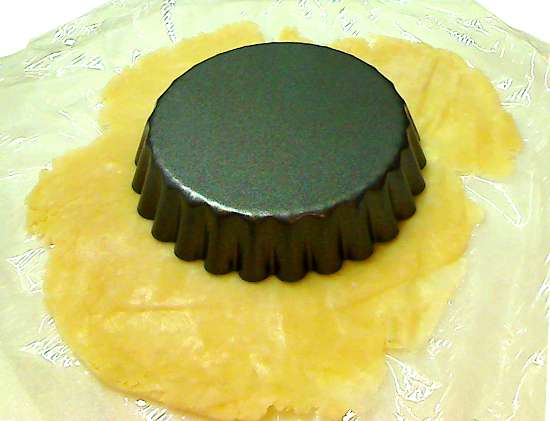
7. Turn a mini tart pan (4-inch diameter) upside down and center it on the dough.

8. Slip hand under plastic wrap and turn dough and pan right side up. Peel off plastic wrap. Carefully lift up the dough up with one hand and and with the other hand, press the dough into the side of the pan.
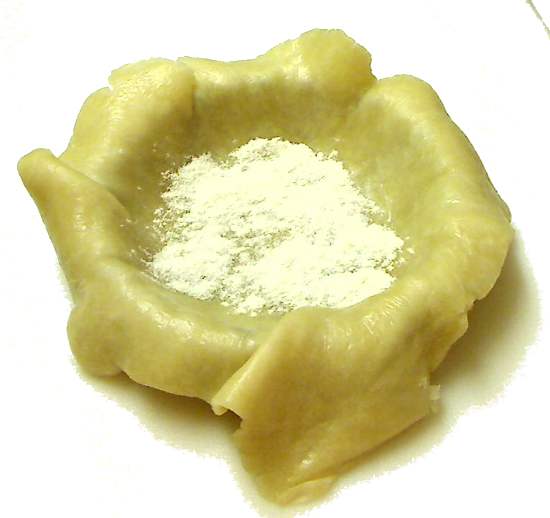
9. Sprinkle the bottom of the crust with half (about 1 teaspoon) of the thickener mixture.
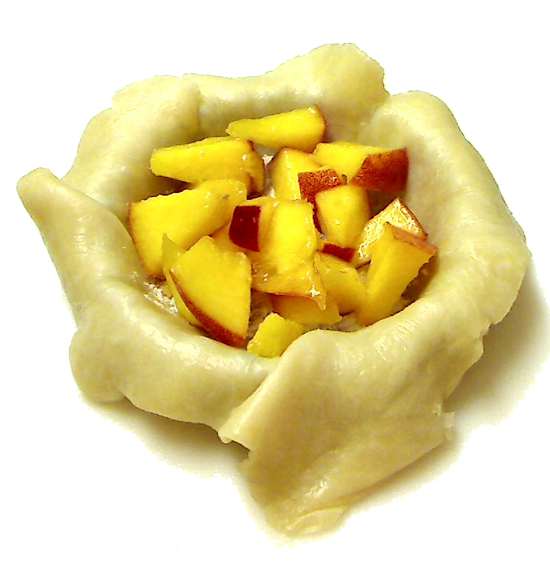
10. Spoon into the crust half of the drained fruit filling.
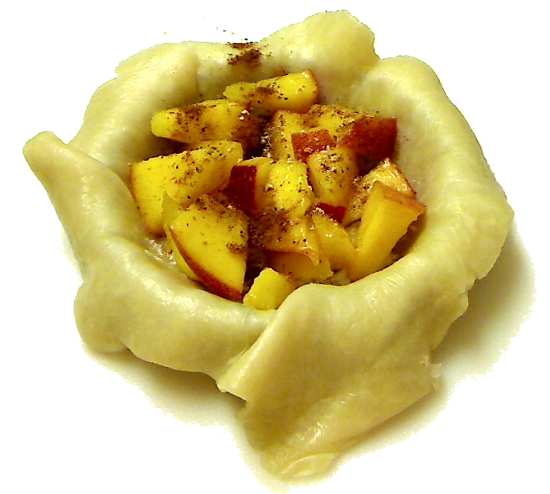
11. Sprinkle the top of the fruit with cinnamon and nutmeg or ginger and nutmeg or your favorite combination of baking spices. If the fruit is not satisfactorily sweet or is sour, sprinkle on another 1/4 to 1/2 teaspoon of sugar.
12. Put a pat of butter (about 1/2 teaspoon) over fruit. Fold sides of dough up over fruit. The dough must not completely seal off the top of the tart. There should a hole at the center to vent steam. Cut off some of the dough, if necessary, so that the top remains vented.
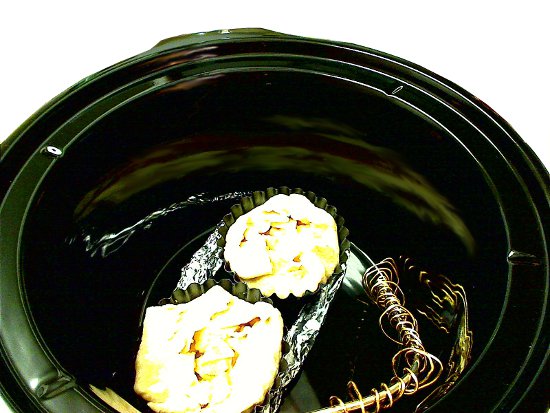
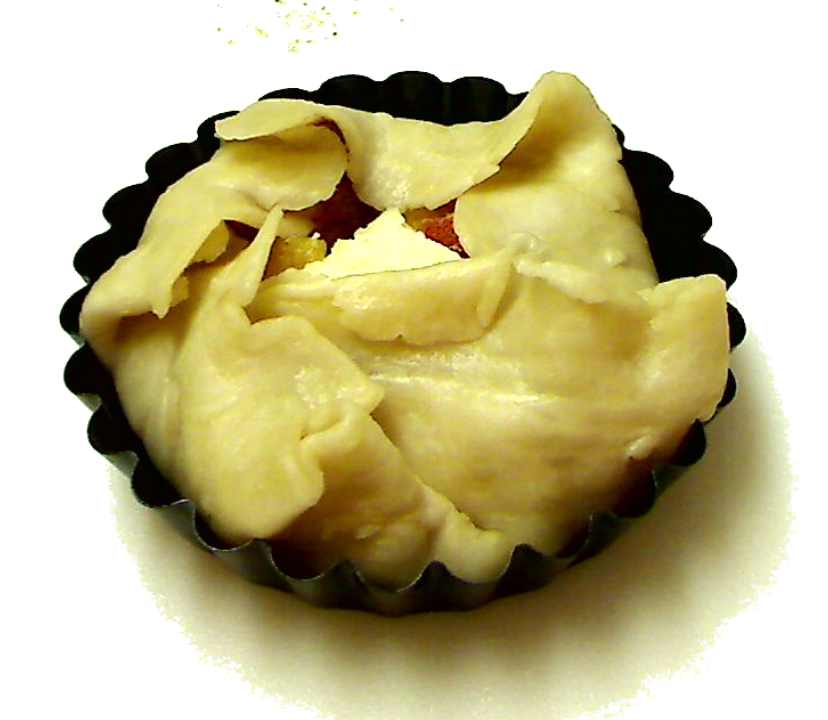
13. Prepare the second tartlet in the same manner. Put both tartlets into oven. If baking in a cooker, put moisture-absorbing towels under the lid and the tart pans should sit on a trivet. In the picture above, the trivet is rolled up aluminum foil.
14. Bake for 75 to 90 minutes, until the crust is lightly golden. Cool and unmold.
15. Serve a tartlet by itself or with a dollop of light whipped topping or sour cream, as desired. The tartlets are great as food-on-the-run too.

No comments:
Post a Comment