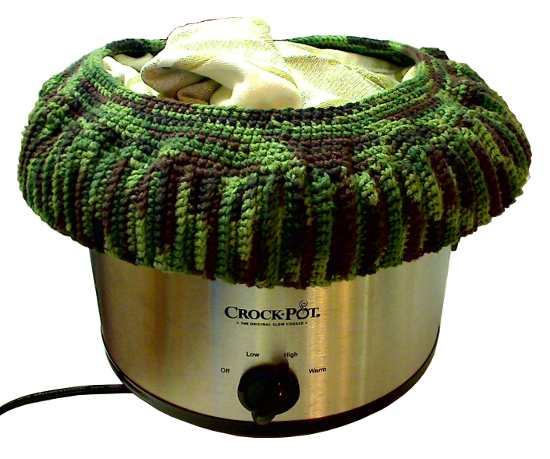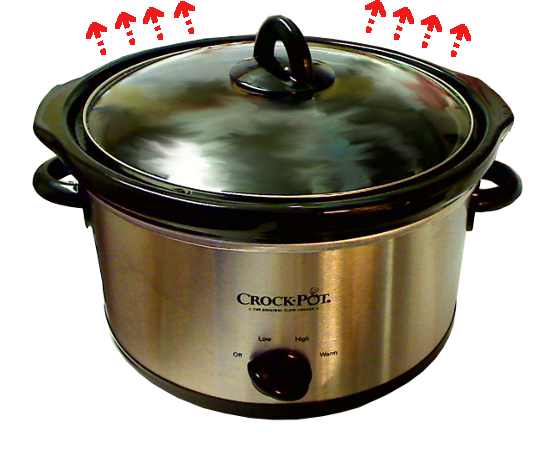
[ Equipment: oven or slow cooker. For more information about the terminology in this recipe, see Low Temperature Baking: A Journey of 3 Paths ].
A small bag of star anise pods sat in my food bin for months until I discovered bizcochitos, New Mexican shortbread cookies with anise seeds as the primary flavoring. Anise seeds and star anise are very close in taste (star anise is said to be a little more bitter), so I reckoned the substitution would be just about perfect. Plus, regular shortbread cookies bake in relatively cool ovens. Basic bizcochito recipes would need only minor tweaks to adapt them for LTB.
The origin of bizcochitos dates back hundreds of years to the early Spanish settlements in the Americas. They are a great source of cultural pride, as they are the official cookie of New Mexico. Even the spelling of the name with a "z" (bizcochitos as opposed to biscochitos) emerged from legislative debate. I can't say how well my cookies compare with authentic bizcochitos from a New Mexican bakery, but I can say they are delicious, lightly sweet and aromatic with a gentle taste of licorice and cinnamon and essence of dried grapes.
Traditional bizcochitos are made with lard, and some recipes I studied warned that cookies made with vegetable shortening would not possess authentic flavor and texture. I could not find lard at my local markets, so I had to try the shortening instead. In pastries baked a low temperatures, the taste of the shortening is not completely masked by the other ingredients. Cookies made with all butter had excellent flavor but lacked the same degree of crispness. So, I settled on a blend of half butter and half shortening (1-1/2 tablespoons each of butter and vegetable shortening to make 3 tablespoons of the blend). The recipe does list lard as an alternative, but I have never actually baked these cookies with lard at low temperatures, so I cannot vouch for the result.
The raisin water is, in my opinion, a flavor-packed alternative to the wine and/or orange juice in many bizcochito recipes. It's very easy to make. Freeze any leftover raisin water or add it to a beverage (like yummy chocolate milk). Of course, wine or orange juice can substitute for the raisin water, if desired.
Ground cloves are not a common spice in bizcochitos, but the small amount in the dough ties all the flavors together and cleans up the anise aftertaste. By comparison, the cookies without the cloves taste kind of drab. I don't recommend omitting it.
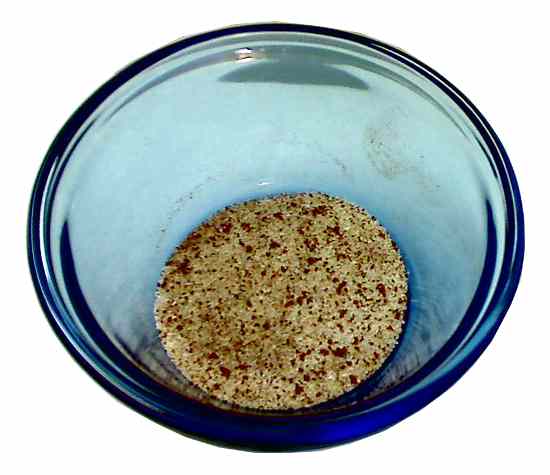
I made my own star anise powder by fine grinding whole star anise pods in a coffee or spice grinder. A small bag of the pods cost me about $1 US, which when ground into powder will fill a standard 2 oz. spice jar. If star anise isn't available, an equal amount of ground anise seed should work as well.
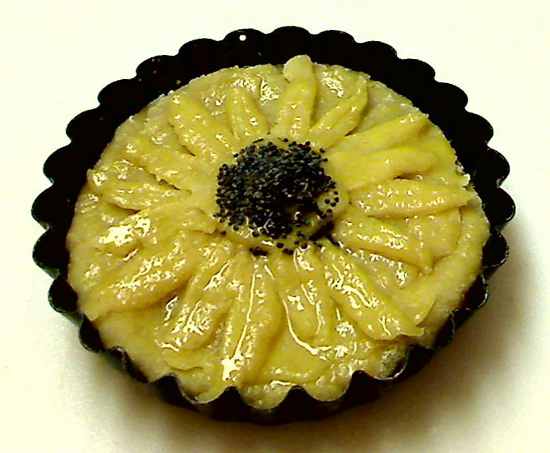
This is the first slow-baked cookie recipe on VaporBaker (not counting any pastries with a cookie-like shell). In normal baking, cookies require a large amount of oven real estate to spread out as they bake. My LTB ovens are converted slow cookers and would yield tiny batches of those kinds of cookies. Then one day, I saw celebrity chef Emeril Lagasse on TV demonstrating how to bake shortbread cookies in a round pan without wasting any space and obtaining a respectable yield. I immediately realized that the technique could be adapted for cramped ovens like mine.
Makes 8 or 12 cookies
- 90 (12) to 135 (8) calories per cookie
- Oven Temperature: 250°F/121°C
Cookie Dough:
- 1 cup all-purpose flour
- 1/4 teaspoon baking powder
- 1/2 teaspoon ground star anise (see text)
- 1/4 teaspoon ground cinnamon
- 1/8 teaspoon ground cloves
- 1/8 teaspoon lemon zest (dried or fresh)
- pinch salt
- 1/4 cup sugar
- 3 tablespoons 50-50 butter-shortening blend or lard (see text)
- 1 egg yolk
- 1 tablespoon raisin water (see text)
- 1-1/2 tablespoon raisins
- 1/4 cup boiling water
- 1 teaspoon sugar
- 1/8 teaspoon ground cinnamon
- 1/8 teaspoon ground star anise
Raisin Water Method:
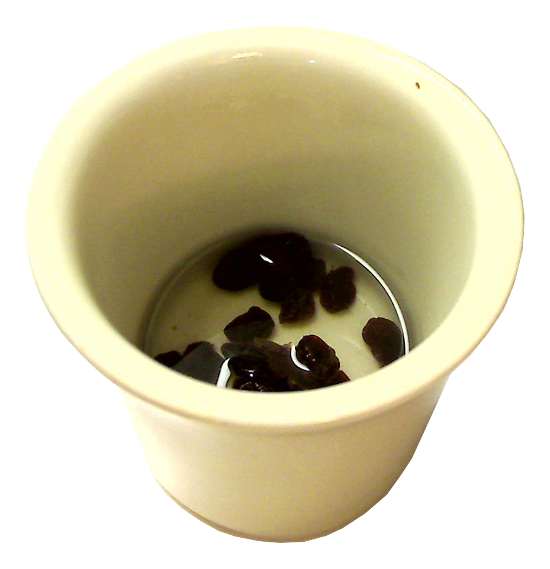
1. Put raisins in a cup and cover with the boiling water. Cover and allow the raisins to reconstitute for at least 30 minutes.
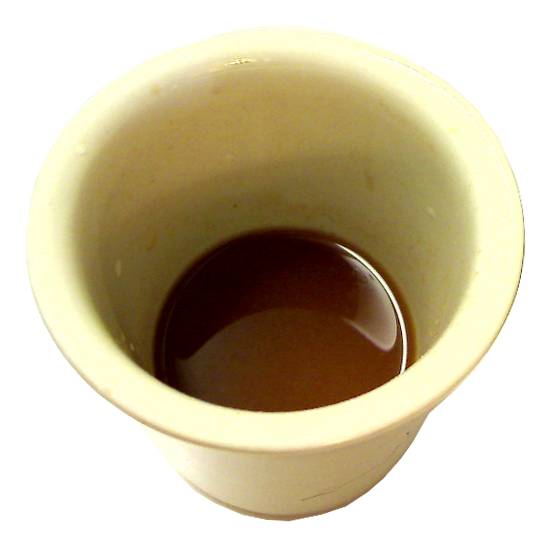
2. Pour the raisins and water into a mini food processor or blender and puree (or puree with an immersion blender). Strain, pressing the pulp to extract the last drops of flavored liquid.
Cookie Method:
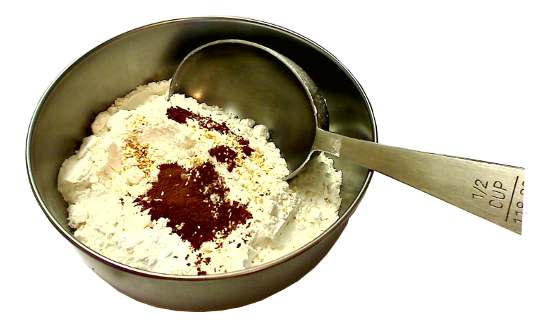
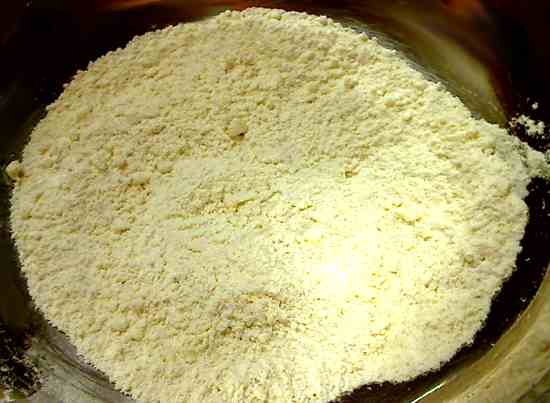
1. In small bowl, whisk all of the dry ingredients (except the sugar) to thoroughly combine and set aside.
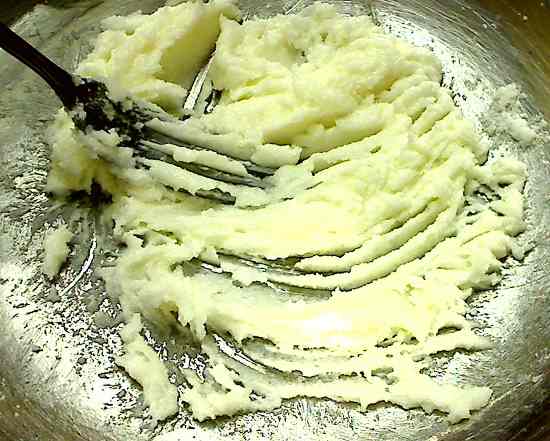
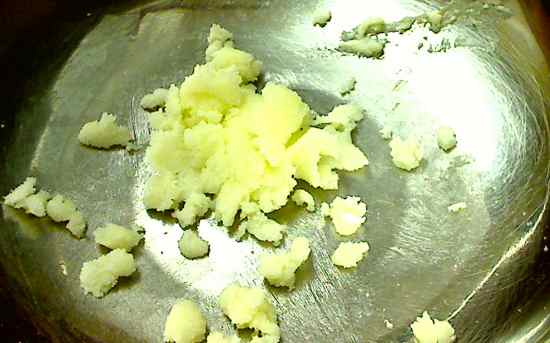
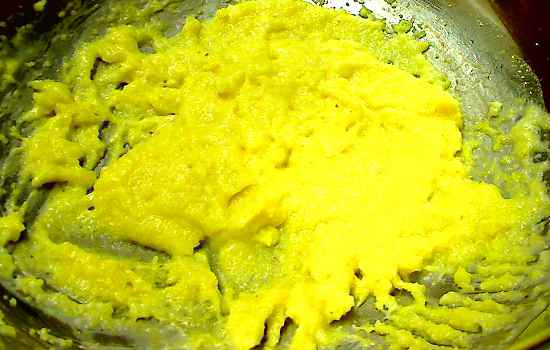
2. In a large bowl, cream shortening and butter (or lard) and sugar with a fork.
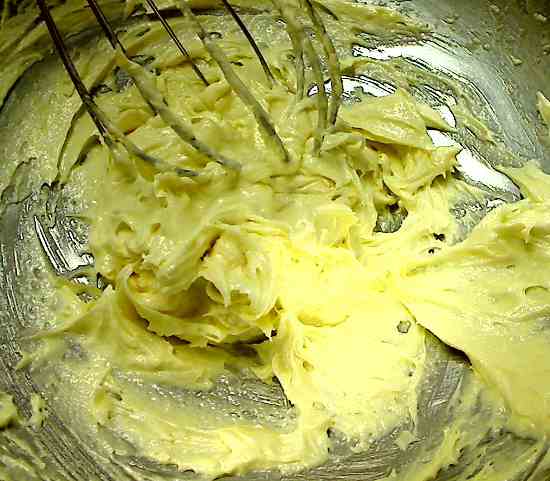
3. Add egg yolk and raisin water, and beat with a whisk until light and fluffy.
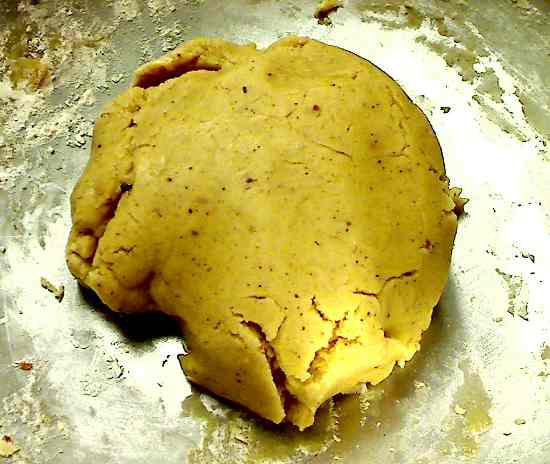
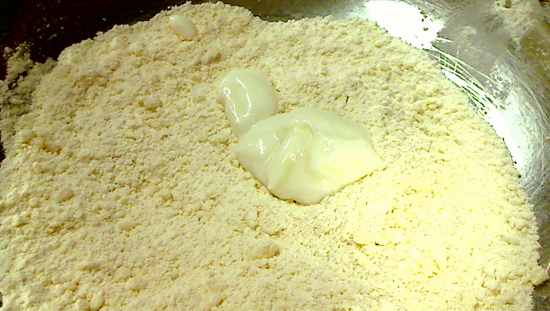
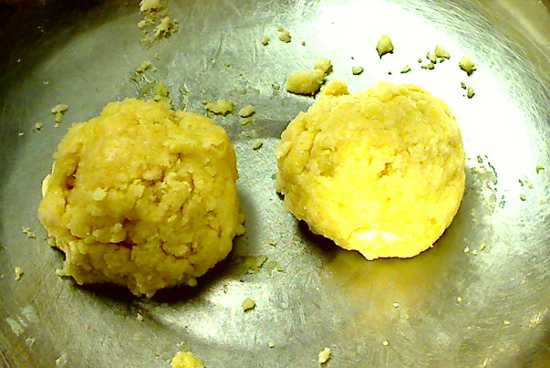
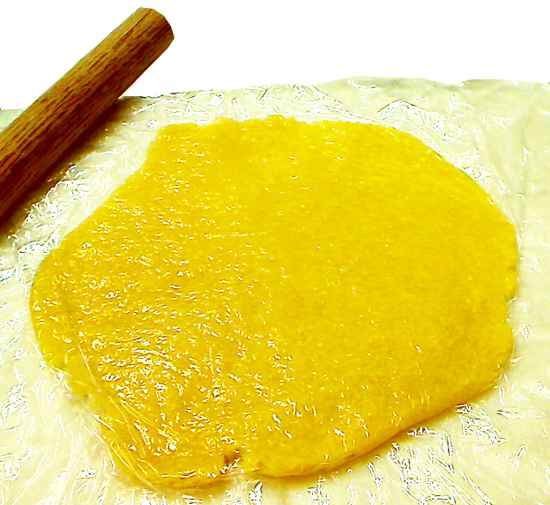
4. Add flour in portions, mixing with the whisk and then a wood spoon and then kneading in the final portions of flour to form a VERY stiff dough. If the dough is too dry and won't incorporate all the flour, add drops of raisin water to soften the dough a little. Knead a few more times to form a smooth surface. Do NOT overknead.

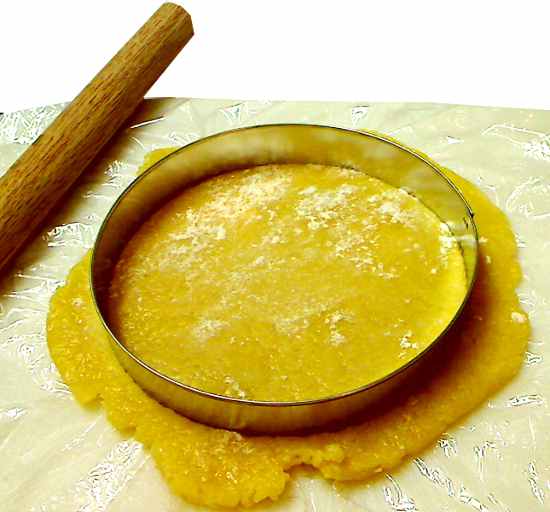
5. Grease a 7-inch springform pan or cake pan with removable bottom. Cut out a 7-inch diameter circle from wax paper or parchment paper and place in bottom of pan. Grease the top of the paper.
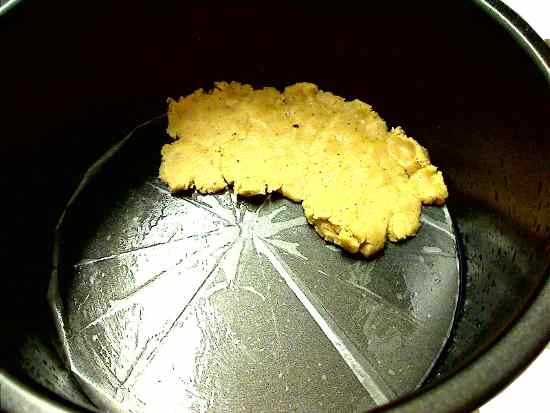
6. Break off pieces of the dough, and pat them evenly onto bottom of pan.
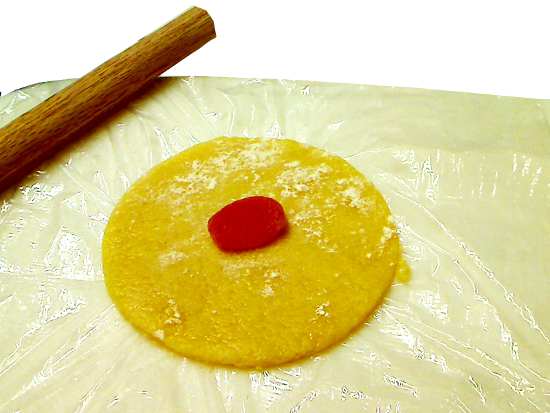
7. In a small dish, combine ingredients for topping.
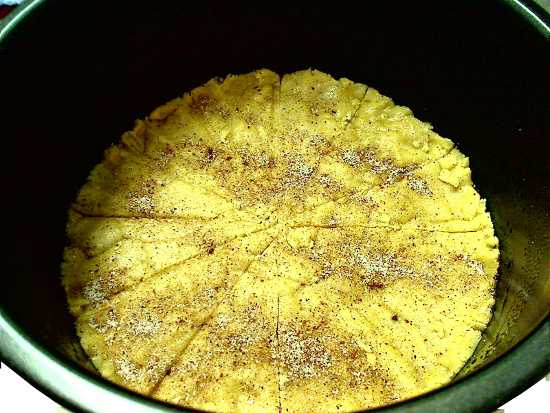
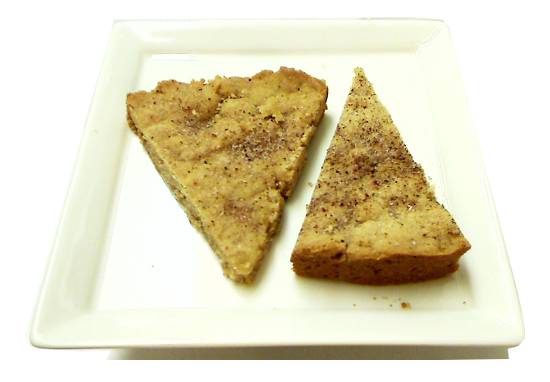
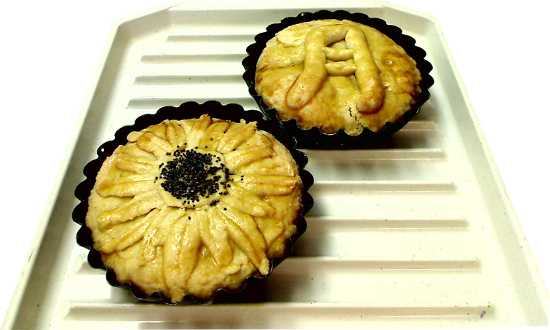
8. Sprinkle sugar mixture over the dough. Score the dough with a knife or flat-bladed dough scraper into 8 or 12 wedges. The scoring should go through the thickness of the dough. Bake for 50 to 60 minutes or until the edges are a light golden brown.
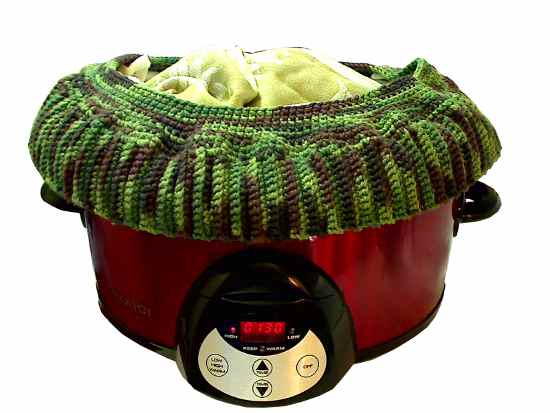
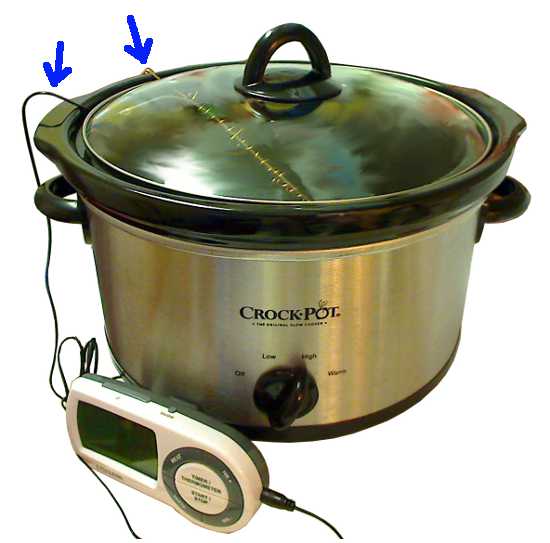
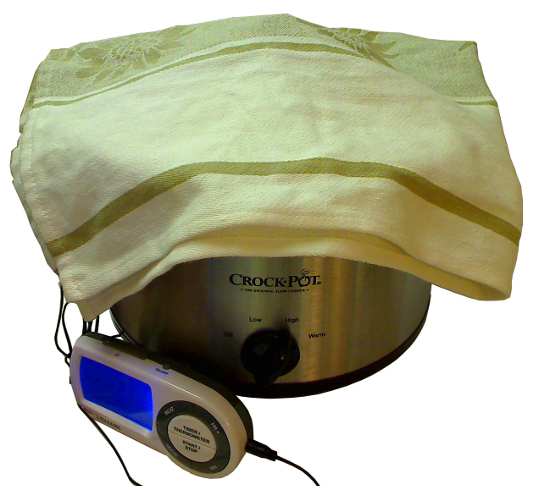
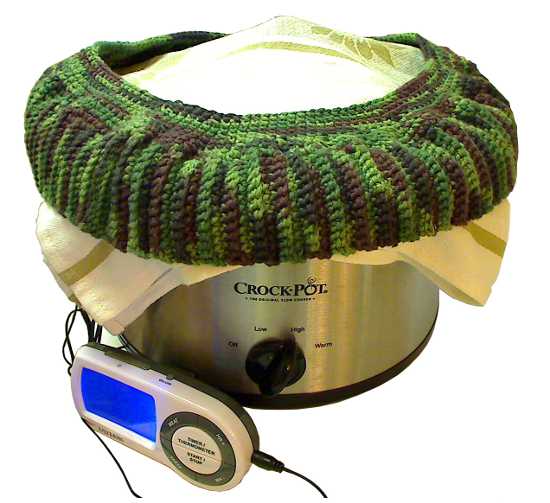
If baking in a cooker, put moisture-absorbing paper towels under the lid. When the cookies are done and if there is moisture condensation on top of the cookies (as often happens in small ovens or cookers), remove any moisture-absorbing towels and continue baking another 5 minutes or so with the cooker lid ajar to dry them off.
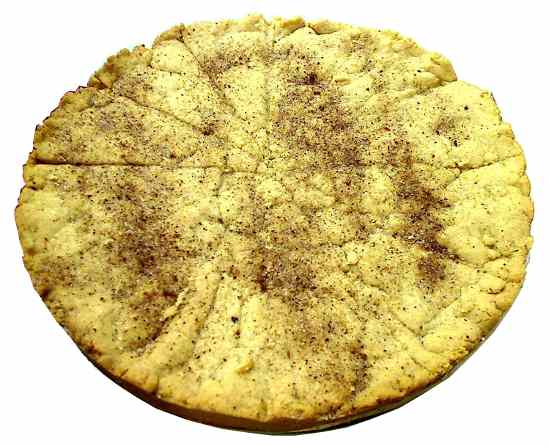
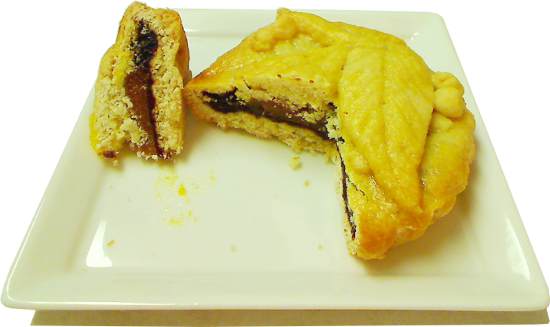
9. Cool and unmold. With a knife, press down into score marks on the cookies to separate them.
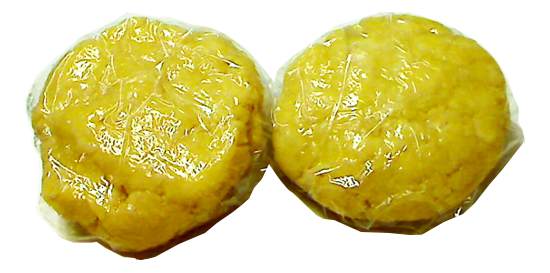
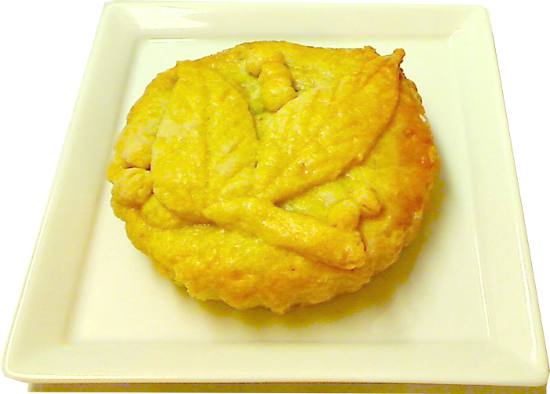
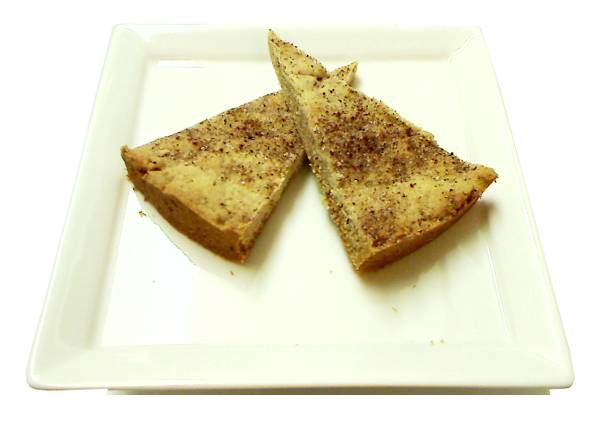
Below is a picture showing 2 bizcochitos: one from an 8-cut and one from a 12-cut.