
"Harvest spice" is my name for regular pumpkin pie spice. It can enhance a range of baked goods from muffins to breads, many without a hint of pumpkin in them, so I call it a harvest spice in reference to the fall season when pumpkins are brought to market. In this gluten-free soda bread with milk-plumped raisins, it adds a note of autumn familiarity. The bread itself is a variation of a basic gluten-free soda bread recipe I found on AllRecipes.com. The wet batter and low temperature baking created something more kin to a dessert bread. It lacks a true crust. At one time, I considered dabbing an alkaline solution on top to see if I could get it to brown (the same browning agent applied on my wet dough focaccia) but postponed that experiment for another day. Still, it's a very tasty dessert bread.
This bread was my first foray into slow baking with a flour other than wheat. The original recipe was made with rice flour and tapioca starch. However, I wanted to try grinding my own flour, and homemade rice flour famously turns out baked goods with a gritty texture if it's the main ingredient in the flour blend. Tapioca starch is still a specialty item and not sold in markets near me.
Early on, I tested soda breads with a commercial gluten-free flour: Bob's Red Mill Gluten-Free All Purpose Flour, but the taste of the flour was too distinctive, possibly because of the large proportion of beans (garbanzo and fava). From the reviews on Amazon.com, preferences for this product are highly individual. For my own flour, I went with a classic blend: oats and white rice - with a 2-to-1 emphasis on the oat flour. (For those who don't want to grind their own flour, many supermarkets sell oat flour and rice flour. Just blend them in a 2 (oats) to 1 (rice) ratio for this recipe.)
Any coffee grinder can convert the soft oats into a fine flour, but not so with raw rice. A regular blade coffee grinder smashes raw rice and other hard grains and legumes into a pebbly powder, too coarse for baking. Further, a blade grinder is inefficient as a flour mill, when large quantities of flour are required. On the other hand, burr-mill coffee grinders can work as flour mills at a fraction of the cost of a flour mill.
I purchased a Black & Decker burr-mill grinder (model CBM210) that costs a few dollars more than a regular blade grinder. The reviews on Amazon.com warned that this inexpensive machine would not produce an espresso grind (ultra-fine) consistently, and they were correct. My solution was to pass the flour through the mill several times, each pass outputting a finer, less gritty powder. Even then, the flour was never as fine as the Bob's Red Mill flour. (To improve the performance of this machine, see my Shim Mod For Black&Decker CBM210/220 Burr-Mill Grinder.)
I chose an oats-rice ratio of 2 to 1 to create a light flour. It weighs about 10% less than the same volume of the Bob's Red Mill flour. My rationale was that lighter flours rise faster and with less leavening, two important considerations in low temperature baking. I did try to grind a blend containing beans, but the flour performed inconsistently, possibly because the bean particles were too large and weighed down the batter. Perhaps I could have cycled the flour through the grinder more times to pulverize it more thoroughly. Another option was to sift out the larger flour particles with a fine sieve for reprocessing.
Initially, I made the bread without the ground flax seed. The slices were so delicate that they would crumble resting in my hand. More egg might have firmed up the bread at the risk of turning it into a cake. An alternative (and vegan) binder, flax seed has become a common ingredient in gluten free baking. My first batters with ground flax seed contained 1/4 to 1/2 teaspoon of seed - not an unusual amount of binder for the quantity of flour - and refused to rise. It seems slow ovens don't generate adequate lift from chemical leaveners to counter the gelatinizing effect of the flax.
A little ground flax seed goes a long way. I found that 1/8 teaspoon of ground flax seed balanced a firm texture with a small sacrifice in volume. In the recipe, I recommend as little as 1/16 teaspoon of flax for a fluffier loaf that still holds itself together. Ground flax seed can spoil rapidly, so I make a new batch every few months (I grind the seeds in my blade coffee grinder) and store it in a jar until I'm actually making the recipe (that is, I don't make an oat-rice-flax flour). If flax seed isn't available, try substituting with ground chia seeds or a bit of xantham gum.
Flours that aren't uniformly fine ground will produce baked goods with a gritty texture, but even commercial gluten-free flours may have a subtle grittiness inherent in the ingredients. I could, for example, detect the hint of bumpiness in breads made with the Bob's Red Mill Gluten-Free General Purpose Flour, and that product is probably as fine ground as any flour in the market. I tried soaking flours for several hours in buttermilk to soften the texture (the soaking technique allegedly helps release important nutrients trapped in foods as well), and discovered that soaking impedes the rise, because the individual grains absorb water and weigh more and because some grains turn gummy. Now, if I bake with a gritty flour, I wrap the cooled loaf in plastic and let it sit for several hours before serving. The grains will absorb moisture and soften. The rest period doesn't eliminate gritty particles, just softens them so they're less objectionable.
As with quick breads in general, work quickly and don't over-mix. There's no gluten to toughen the bread from over-mixing, but overworked batter might turn gummy and fail to rise. I mixed up some loaves with the standard puree attachment on my immersion blender in an attempt to break up any large flour particles, and the batters didn't perform well at all (little rise or no rise). Also, the baking soda begins bubbling as soon as it contacts the buttermilk. If the batter isn't baked immediately, that soda lift could be lost.
On the topic of baking soda, the standard pairing seems to be 1/2 teaspoon baking soda per cup of buttermilk. My recipe specifies twice that ratio. The amount of soda must balance the acid in the buttermilk, which may vary from brand to brand. If the bread tastes a little bitter and has a dryish, coarse texture, try reducing the soda to 1/8 teaspoon.
Makes 6 servings
- 80 calories per serving
- Oven Temperature: 250°F/121°C
Soda Bread
- 5/8 cup 2:1 oat-rice flour, commercial or homemade (2.8 oz - see below, see text)
- 1/4 cup cultured buttermilk
- 1 tablespoon beaten egg
- 2 tablespoons milk
- 1 tablespoon sugar
- 1/8 teaspoon salt
- 1/4 teaspoon harvest spice blend (see below and see text)
- 1/16 to 1/8 teaspoon ground flax seed (see text)
- 1/4 teaspoon baking soda (see text)
- 1-1/4 teaspoon baking powder
- 1 tablespoon soaked, chopped raisins (see below)
- 1 cup long grain white rice
- 2 cups rolled oats
- 1 tablespoon raisins
- 1/4 cup hot milk
- 1/2 teaspoon powdered cinnamon
- 1/4 teaspoon powdered ginger
- 1/4 teaspoon nutmeg
- 1/8 teaspoon cloves
Note: The oat-rice flour for this recipe consists of 2 parts oat flour to 1 part rice flour. These grinding instructions apply specifically to the Black and Decker CBM210 Burr-Mill Grinder. They may need to be modified to work with other model grinders.
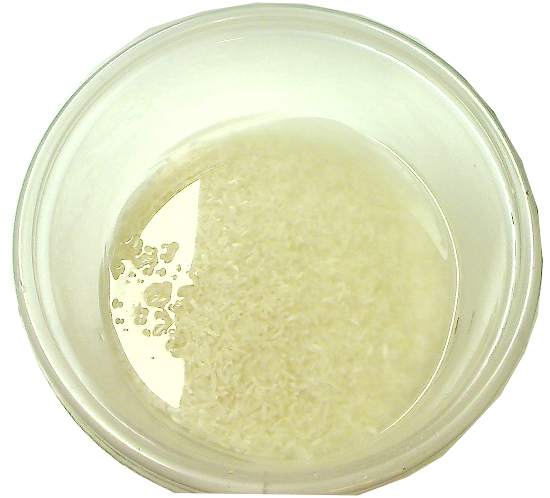
1. Cover rice with water and soak for 30 minutes.

2. Drain rice, pat dry with paper towels. Spread rice on a large baking sheet over more paper towels and allow to air dry completely or place rice in a dehydration oven set to 120°F/49°C and dry for several hours (stir the rice occasionally to help release the vapor).
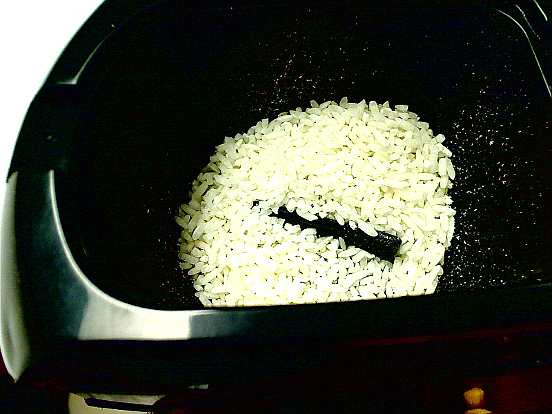
3. Grind rice one or more times until fine as flour. In my burr-mill machine, I grind the rice 1 time on the coarse setting and then 3 times on the finest setting.

3. Measure out 3/4 cup of rice flour and place in a large bowl. Repeat step 2 for the oats. Measure out 1-1/2 cups of oat flour and mix thoroughly with rice flour.

5. Grind oat-rice flour blend 2 to 3 times on finest setting. If a flour sieve is available, sift the flour to filter out the larger particles and regrind them.
 4. Store oat-rice flour in an airtight container.
Milk-Infused Raisins Method:

1. In a small bowl, soak raisins in hot milk for about 30 minutes.
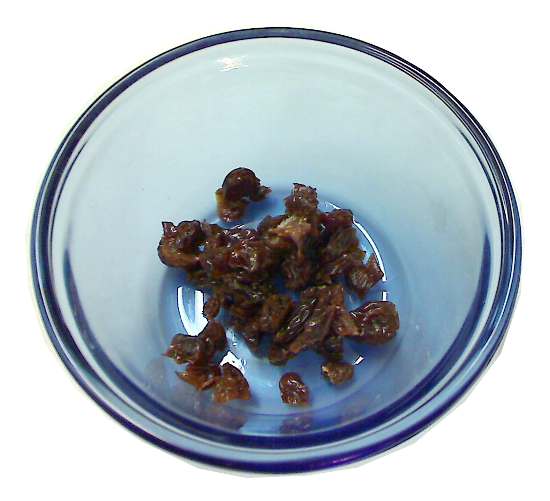
2. Drain raisins and chop.
Soda Bread Method:

1. In a small cup, mix the sugar, salt, harvest spice blend, ground flax seed. Set aside.
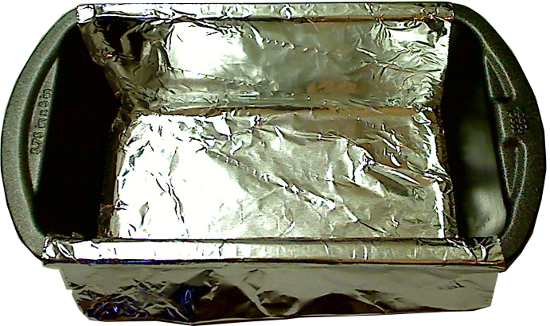
2. Cut a strip of aluminum foil 6 inches wide and at least 11 inches long. Press the foil into a small loaf pan (5-3/4 x 3 x 2 inches) to cover the bottom and the long sides. Grease the foil and exposed sides of pan. Set aside.

3. In a medium bowl, mix the oat-rice flour, buttermilk, milk and beaten egg.
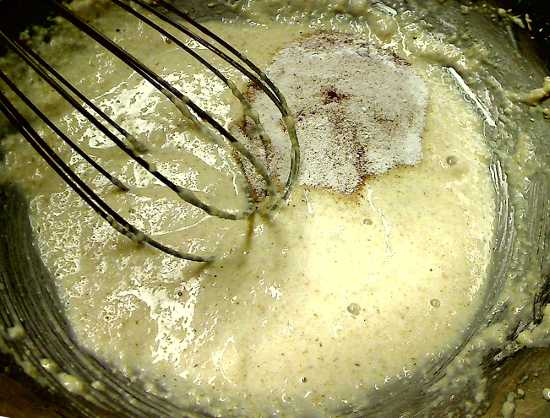
4. Pour in the sugar mixture and quickly whisk until combined.

5. Add baking soda and baking powder and quickly whisk until combined.

4. Stir in chopped raisins.

6. Pour batter into the loaf pan.

7. Grease the shiny side of a piece of aluminum foil about 9 x 6 inches. Cover pan with the foil (shiny side down) and crimp it securely down on and under the rim. With a 1/8-inch thick skewer, punch 5 ventilation holes along the center line, spaced about 1 inch apart.

8. Bake for 35 to 40 minutes. One way to test for readiness is to stick a toothpick into the loaf through the center ventilation hole. If it comes out clean, the bread is ready.
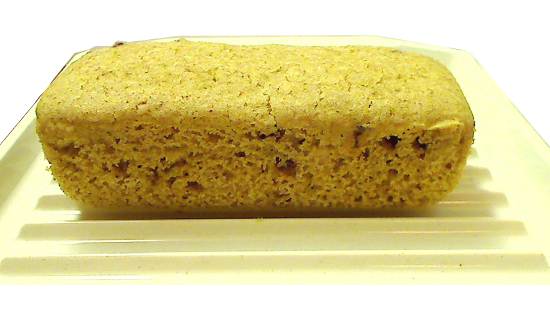
9. Cool for 10 minutes in the pan. Then loosen the loaf by sliding a knife along the two ends of the pan. Grasp the flaps of the foil liner and slowly pull up to lift the bread out. Remove the foil liner and continue cooling on a rack.

10. Slice and serve. Store the bread wrapped in the refrigerator (the milk-infused raisins will spoil at room temperature). If the bread has a gritty texture, allow the grains to soften by refrigerating the loaf for several hours or overnight. Reheat before serving.
No comments:
Post a Comment